The allure of freshly baked bread, with its crackling crust and soft, yielding interior, has captivated culinary enthusiasts for centuries. This timeless appeal is now more accessible than ever with the emergence of remarkably simple artisan bread recipes. These recipes, often requiring little more than flour, yeast, salt, and water, demystify the process of creating bakery-quality loaves in the comfort of one’s own kitchen. This approach champions a return to fundamental baking techniques, proving that artisanal excellence doesn’t necessitate elaborate equipment or extensive expertise.
The Enduring Appeal of Homemade Artisan Bread
There is an undeniable magic associated with pulling a golden-brown loaf of artisan bread from the oven. The sensory experience—the visual delight of the perfectly baked crust, the yielding texture of the interior, and the pervasive aroma that fills the home—evokes a profound sense of comfort and accomplishment. For many, particularly on relaxed weekend evenings, the desire for warm, freshly baked bread to accompany a meal often arises, but the prospect of complex baking processes can be daunting. This is where the beauty of a straightforward artisan bread recipe truly shines, offering a no-fuss solution that delivers exceptional results.
The core philosophy behind this accessible artisan bread recipe lies in its simplicity. It eschews the need for specialized machinery, such as bread machines, and requires no prior extensive baking experience. By relying on a few staple pantry ingredients and a measure of patience, individuals can consistently produce rustic loaves that rival those found in professional bakeries. This democratization of artisanal baking empowers home cooks to achieve impressive results, fostering a deeper connection to the food they prepare and consume.
Defining Artisan Bread: Tradition Meets Simplicity
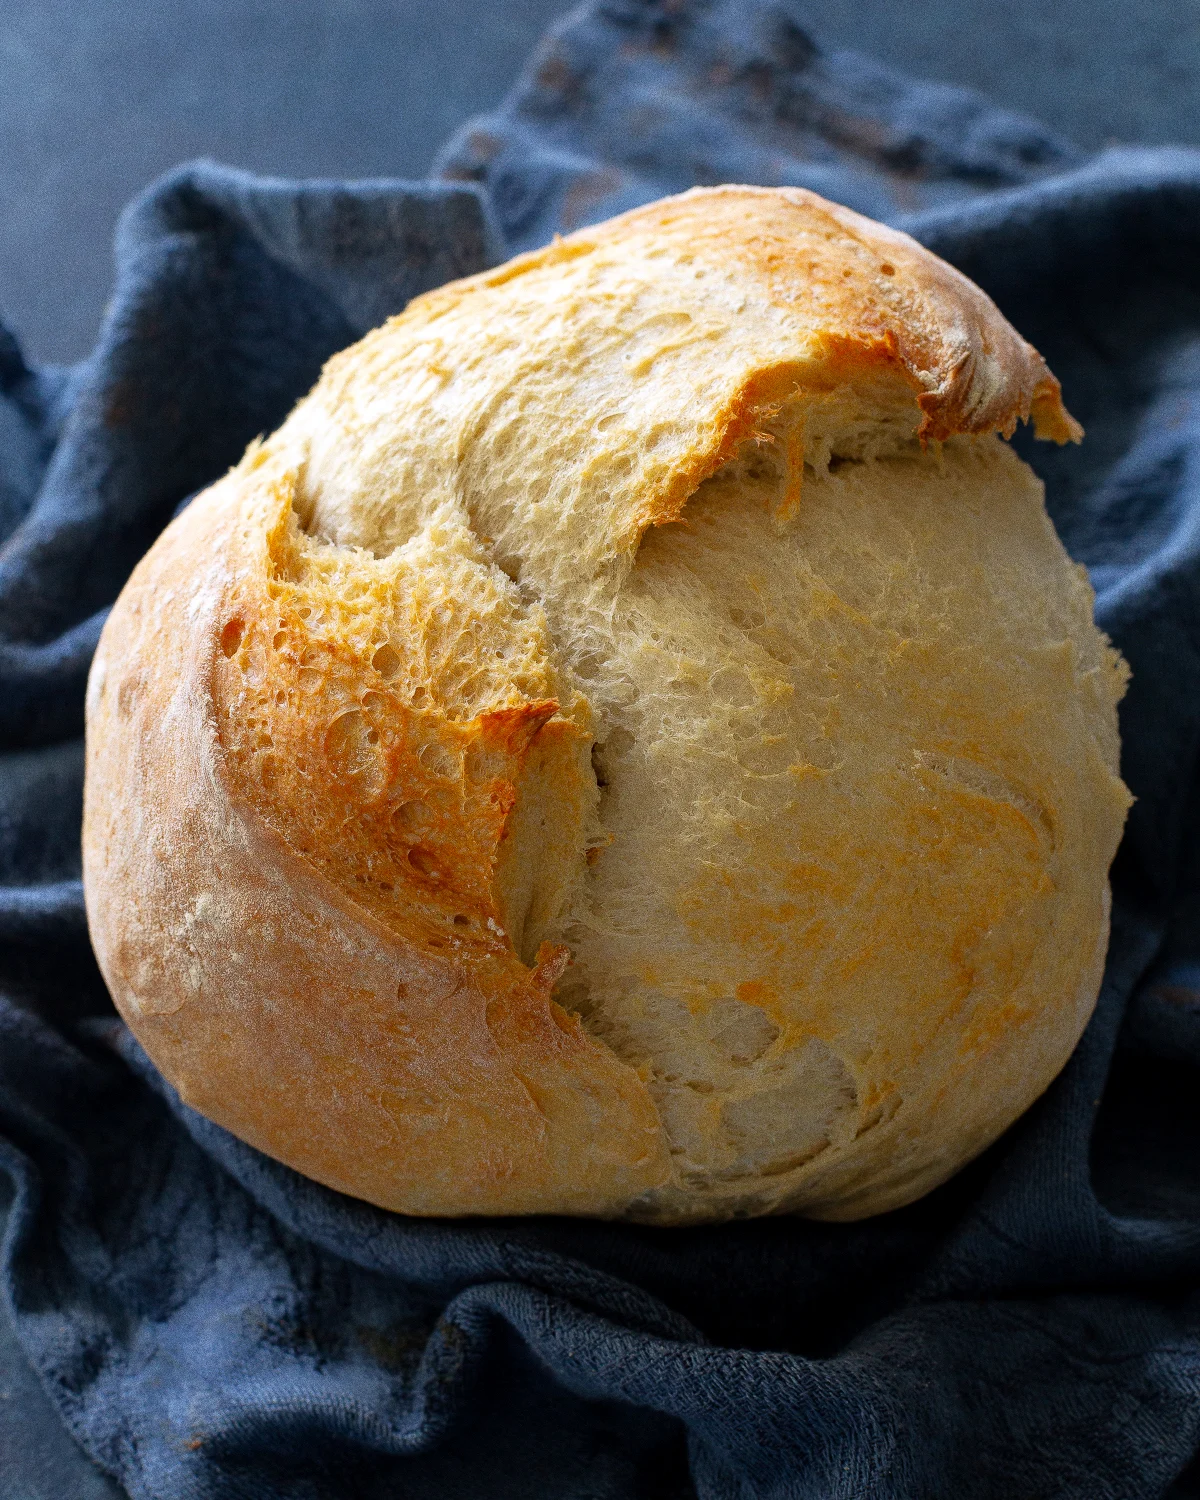
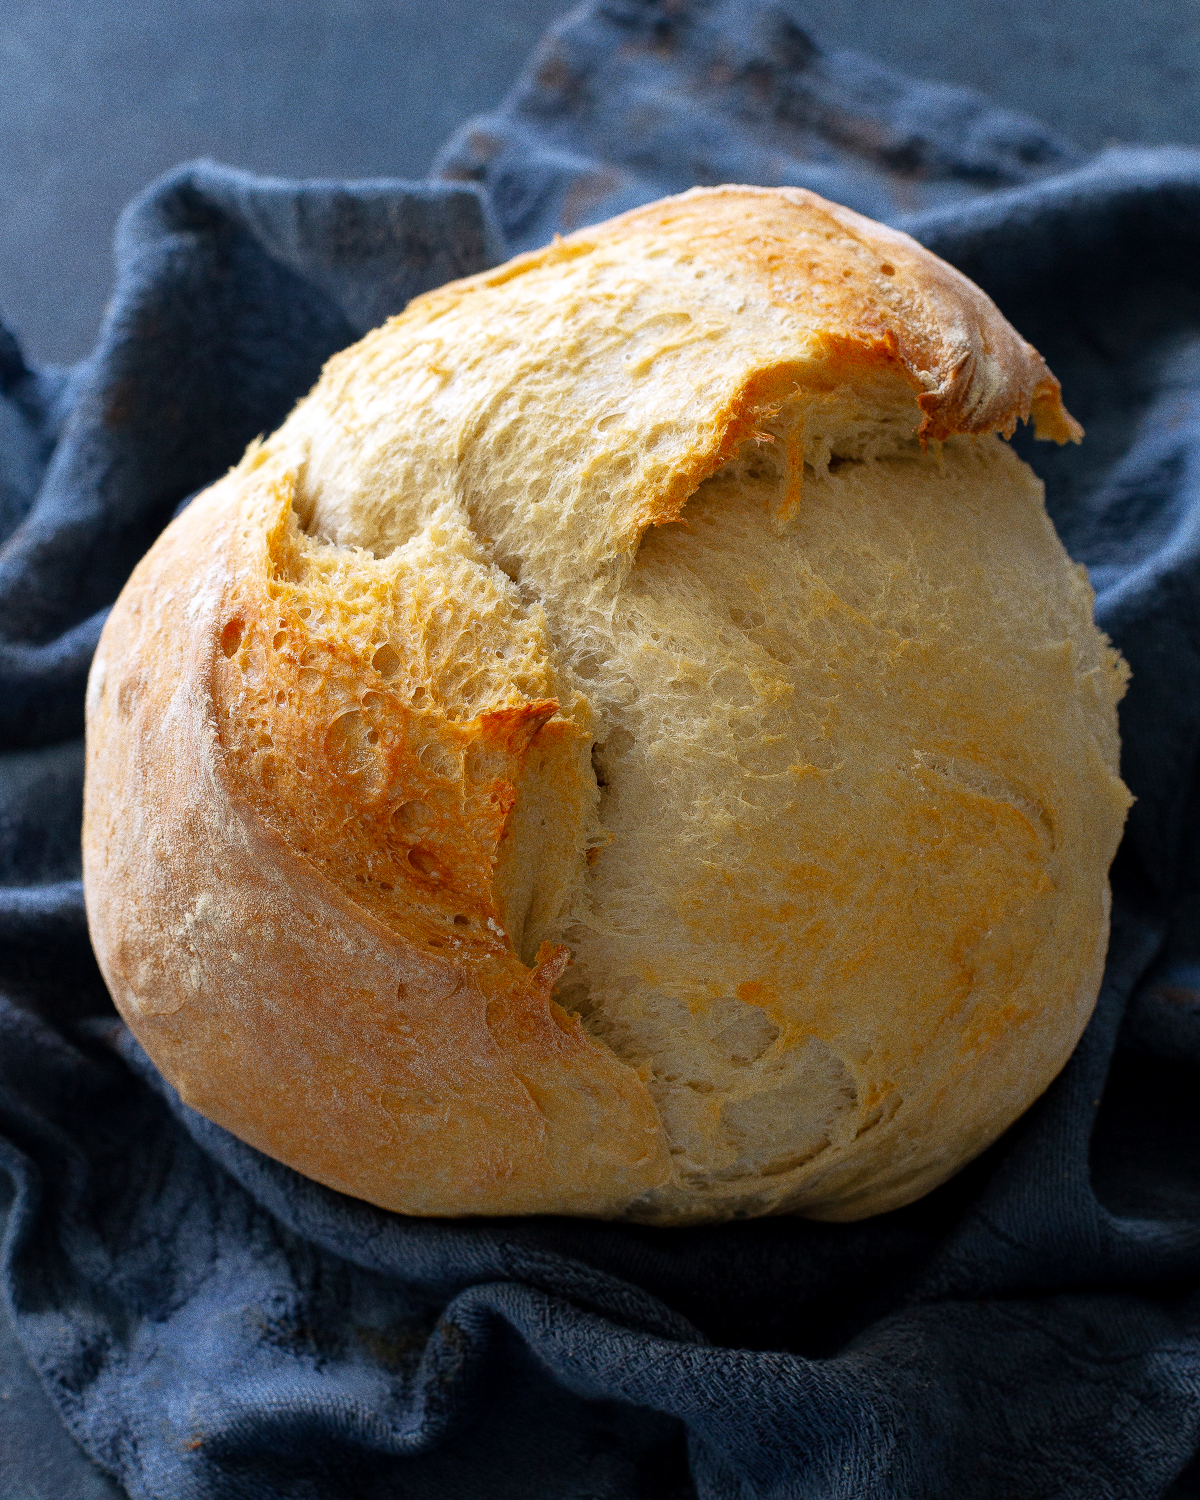
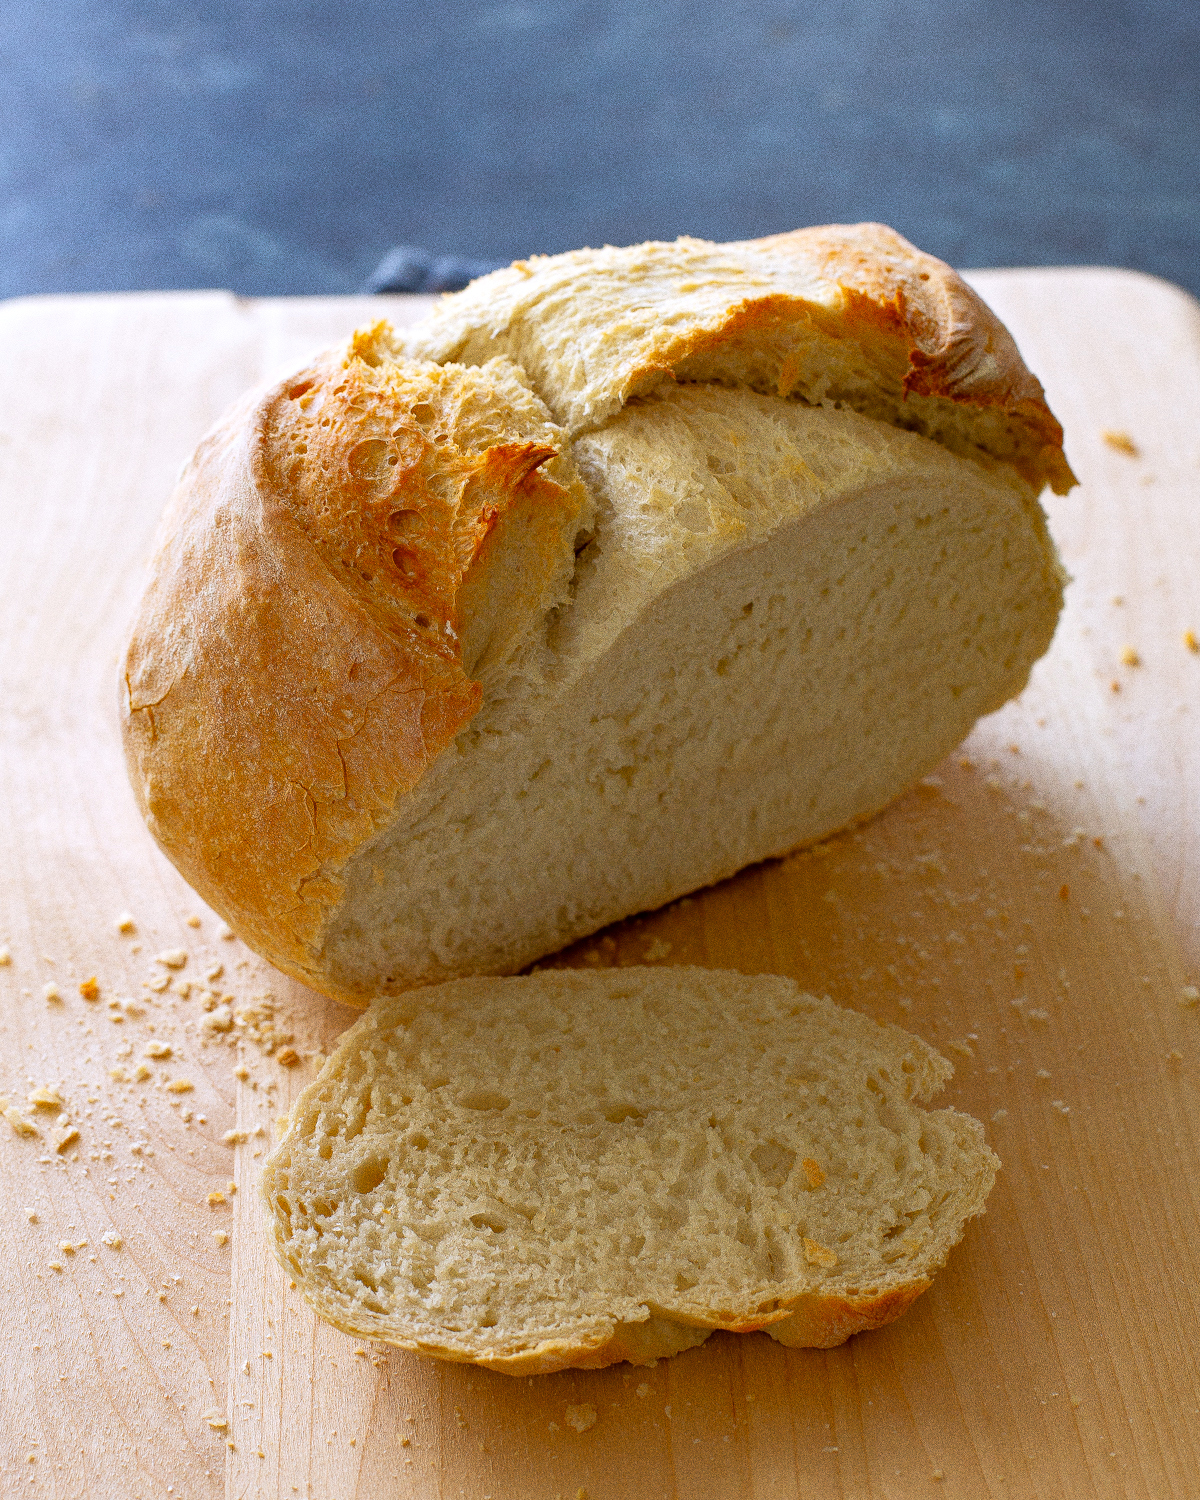
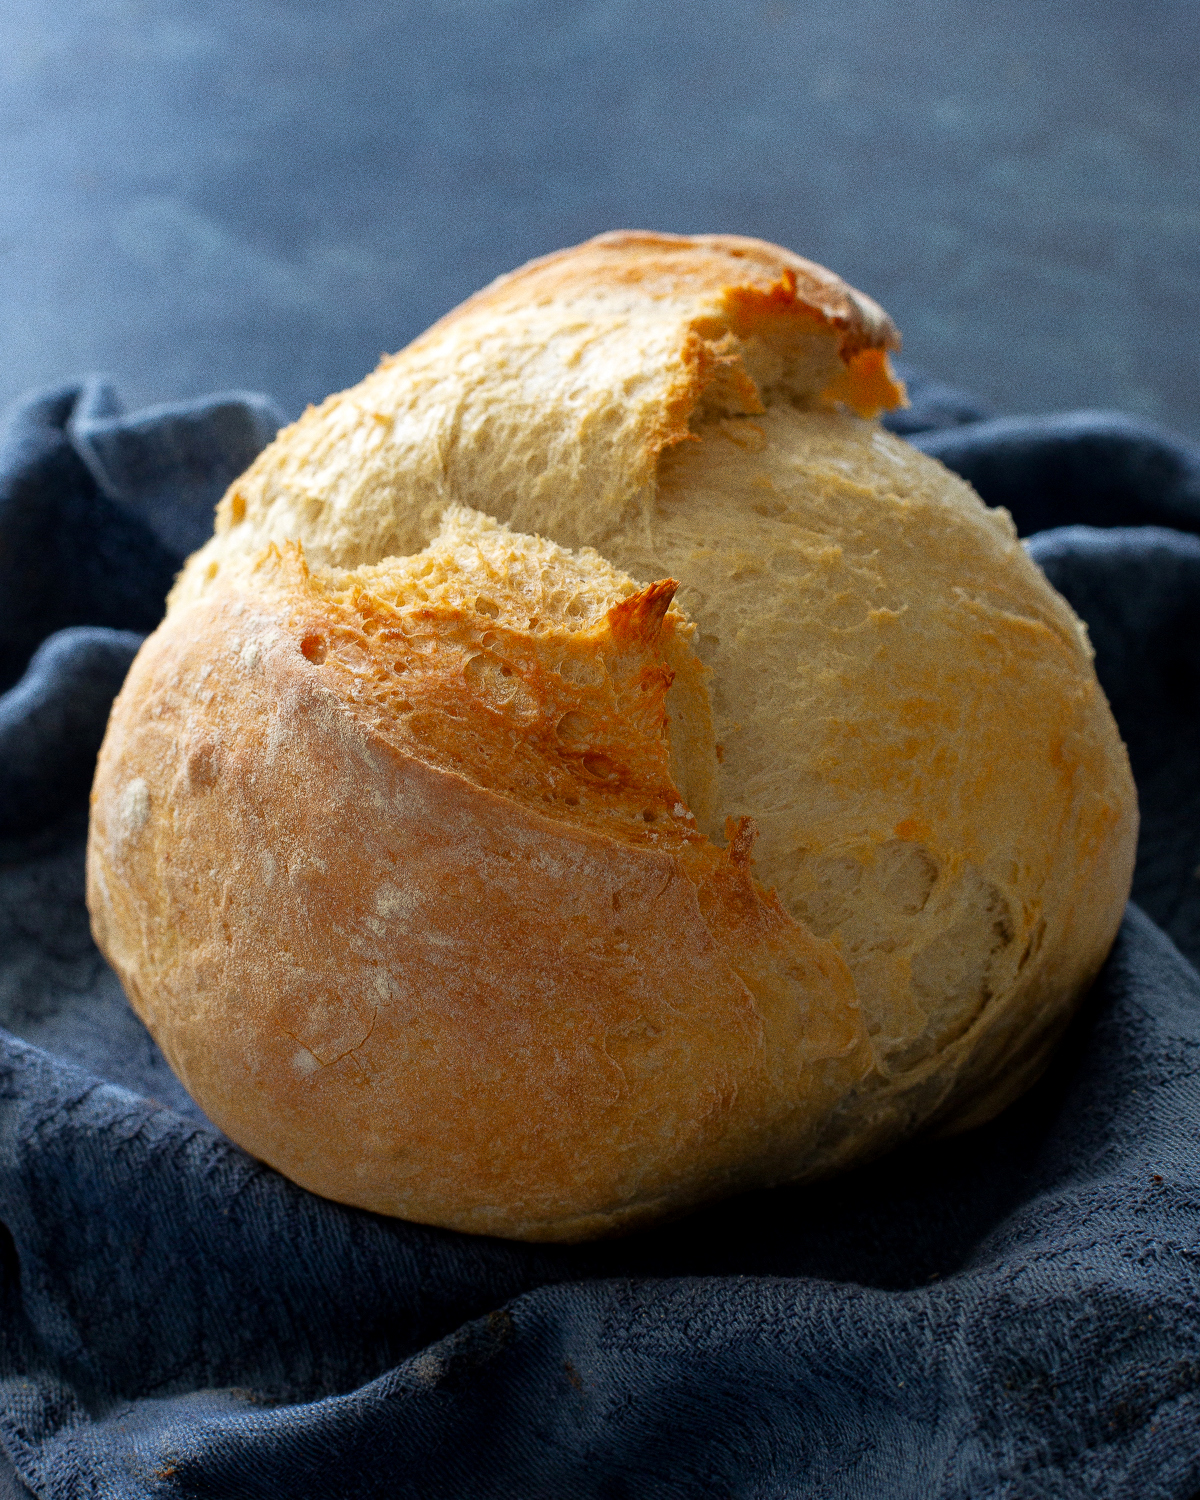
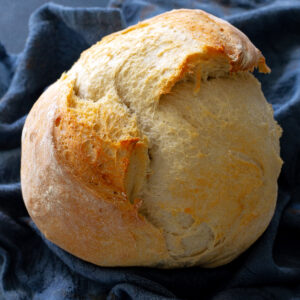
Artisan bread, at its essence, is a testament to traditional baking methods and the inherent quality of simple ingredients. Characterized by its rustic style, it is crafted using fundamental components: flour, water, yeast, and salt. Unlike mass-produced sandwich breads, which often contain a multitude of additives and preservatives, artisan loaves are celebrated for their distinct textural qualities—a satisfyingly chewy crumb and a delightfully crisp crust. The irregular, airy pockets within the bread are a hallmark of its artisanal nature, a visual indicator of a well-developed dough and proper baking.
A key element in achieving the signature crust of artisan bread is the baking method. High-temperature baking, frequently facilitated by the use of a Dutch oven, is paramount. This enclosed environment traps steam released from the dough, creating the ideal conditions for a robust, crackly exterior that complements the soft interior. The science behind this process, while seemingly technical, is elegantly integrated into the straightforward steps of the recipe, making it achievable for even novice bakers.

The Foundation: Essential Ingredients for Homemade Artisan Bread
The beauty of this artisan bread recipe lies in its minimalist ingredient list, emphasizing quality and accessibility. The primary components are readily available in most kitchens:
- Flour: While bread flour is often recommended for its higher gluten content, which contributes to a chewier texture and improved structure, all-purpose flour is a perfectly acceptable substitute. The subtle difference in texture is often negligible for many home bakers, making the recipe adaptable to available resources.
- Yeast: Active dry yeast is the leavening agent responsible for the bread’s rise and airy texture. Proper activation and handling of yeast are crucial for successful baking.
- Salt: Beyond enhancing flavor, salt plays a vital role in controlling yeast activity and strengthening the gluten structure of the dough.
- Water: The temperature of the water is important for activating the yeast. Warm water, typically between 105-115°F (40-46°C), is ideal for this purpose.
The ratio and quality of these simple ingredients are paramount. Following the recipe precisely ensures the dough develops the correct consistency, which is the first step toward a perfectly baked loaf.
The Process: A Step-by-Step Guide to Crafting Artisan Bread
The journey from simple ingredients to a magnificent loaf of artisan bread is a remarkably straightforward process, broken down into manageable steps.

Step 1: The Genesis of the Dough
The initial stage involves combining the dry ingredients in a large mixing bowl. Flour, salt, and yeast are brought together, creating the foundation for the dough. Subsequently, warm water is introduced. The mixture is then stirred until a shaggy, cohesive dough begins to form. At this point, it is entirely normal for the dough to appear sticky and somewhat messy. This characteristic is a positive indicator, signifying that the dough has not been overmixed and retains the necessary moisture for optimal gluten development. The bowl is then covered with plastic wrap or a clean kitchen towel, preparing it for the crucial rising period.
Step 2: The Patient Rise
The dough is left to rise at room temperature for a period of two to three hours. This extended resting time allows the yeast to work its magic, fermenting the sugars in the flour and producing carbon dioxide gas, which causes the dough to expand and develop its characteristic airy structure. For those seeking a more complex flavor profile, the dough can be allowed to rise for a longer duration, even up to three days, in the refrigerator. This slow fermentation process deepens the flavor and enriches the overall character of the bread.
Step 3: Shaping the Loaf
Once the dough has adequately risen, it is gently turned out onto a lightly floured surface. The key here is to handle the dough with care, avoiding vigorous kneading or overworking. The dough is then folded a few times, bringing the edges toward the center to create a rounded loaf shape. This gentle shaping helps to build surface tension without deflating the delicate air pockets that have formed. The shaped dough is then placed on a piece of parchment paper, making it easy to transfer to the hot oven. A sharp knife is used to score a single, decisive slit across the top of the loaf. This score allows the bread to expand in a controlled manner during baking, preventing blowouts and contributing to the aesthetic appeal of the finished product.
Step 4: The Art of the Preheat
The preheating of the baking vessel is a critical step that directly impacts the bread’s crust. A Dutch oven, with its lid securely in place, is placed in the oven and preheated to a high temperature of 450°F (232°C). This intense heat is essential for creating the characteristic crisp crust. The preheated Dutch oven traps the steam released from the dough, a process that is vital for achieving that desirable bakery-quality exterior. While a Dutch oven is highly recommended for optimal results, the recipe can be adapted for baking on a conventional baking sheet if the specialized pot is unavailable.
Step 5: The Transformation Through Baking
With the oven and Dutch oven thoroughly preheated, the dough is carefully transferred into the hot pot. The lid is placed back on, and the bread is baked for approximately 30 minutes. This initial covered period allows the dough to rise further and begin to cook internally while retaining moisture. After 30 minutes, the lid is removed, exposing the loaf to direct heat. The bread continues to bake for an additional 10 to 15 minutes, or until it achieves a deep, golden-brown hue, indicating that the crust is perfectly caramelized and the interior is fully baked.
Once baked, the bread is removed from the oven and placed on a wire rack to cool completely. This cooling period is essential for allowing the internal structure of the bread to set and for the flavors to fully develop. Slicing the bread while it is still hot can result in a gummy texture, diminishing the overall eating experience.
Preserving the Freshness: Storing Homemade Artisan Bread
Proper storage is key to enjoying homemade artisan bread for as long as possible. Loosely wrapped at room temperature, the bread will remain fresh for up to three days. For longer storage, slicing the cooled loaf and freezing it in an airtight bag is an effective method. To recapture the fresh-baked texture, the frozen slices can be reheated in the oven.
Troubleshooting Common Baking Challenges
Even with a simple recipe, aspiring bakers may encounter occasional challenges. One common concern is dense bread. This typically arises from one of several factors:
- Insufficient Rising Time: If the dough does not have adequate time to rise, the yeast will not have produced enough carbon dioxide to create a light and airy crumb.
- Overworking the Dough: Excessive kneading can develop too much gluten, making the dough tough and preventing it from rising properly.
- Inactive Yeast: Old or improperly stored yeast may lose its potency, failing to leaven the dough effectively.
- Incorrect Water Temperature: Water that is too hot can kill the yeast, while water that is too cold will not activate it sufficiently.
Understanding these potential pitfalls can help bakers troubleshoot and refine their technique, ensuring consistent success.
The Broader Impact: Rediscovering the Joy of Baking
The resurgence of interest in homemade artisan bread reflects a broader cultural shift towards mindful consumption and a desire to reconnect with the origins of our food. In an era of convenience, the act of baking from scratch offers a tangible sense of accomplishment and a more wholesome alternative to commercially produced goods. This simple recipe serves as an entry point into a rewarding culinary hobby, encouraging individuals to experiment, learn, and share the fruits of their labor with loved ones. The ability to create something so fundamental and universally appreciated from basic ingredients is a powerful reminder of the simple joys that can be found in the kitchen.
