The allure of freshly baked artisan bread, with its crackling golden crust, soft, yielding interior, and the comforting aroma that permeates a kitchen, is undeniable. For many, the idea of replicating this bakery-quality experience at home might seem daunting, reserved for seasoned bakers with specialized equipment. However, a closer examination reveals that achieving this rustic delight is surprisingly accessible, requiring only a handful of pantry staples and a touch of patience. This article delves into a straightforward artisan bread recipe, demystifying the process and empowering home cooks to create their own loaves of comfort.
The Enduring Appeal of Homemade Artisan Bread
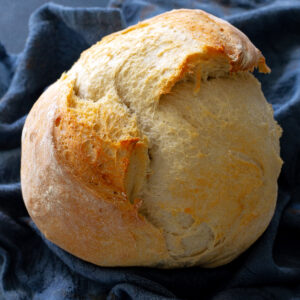
The tradition of baking bread dates back millennia, serving as a fundamental source of sustenance and a symbol of community. Artisan bread, in particular, represents a return to simpler, more traditional methods, eschewing commercial additives and mass-production techniques for a focus on quality ingredients and time-honored processes. This approach yields a bread with a distinctive character: a slightly chewy texture, an irregular, open crumb, and a robust, flavorful crust that is the hallmark of expertly baked loaves.
While the exact origins of "artisan bread" as a distinct category are fluid, the concept of crafting bread from basic ingredients – flour, water, yeast, and salt – has been a cornerstone of culinary practices across cultures for centuries. The modern resurgence of interest in artisan bread can be attributed to a growing appreciation for natural foods, a desire for transparency in food production, and the simple pleasure of creating something delicious from scratch. This recipe aims to capture that essence, offering a no-fuss pathway to homemade satisfaction.
Understanding Artisan Bread
At its core, artisan bread is defined by its rustic style and the purity of its ingredients. Unlike the uniform, often soft loaves found in supermarket aisles, artisan bread embraces imperfections as a sign of its handmade origin. The key characteristics include:
- Simple Ingredients: Flour, water, yeast, and salt form the foundation. Some recipes may include minimal additions like a touch of sugar or fat, but the emphasis remains on these core components.
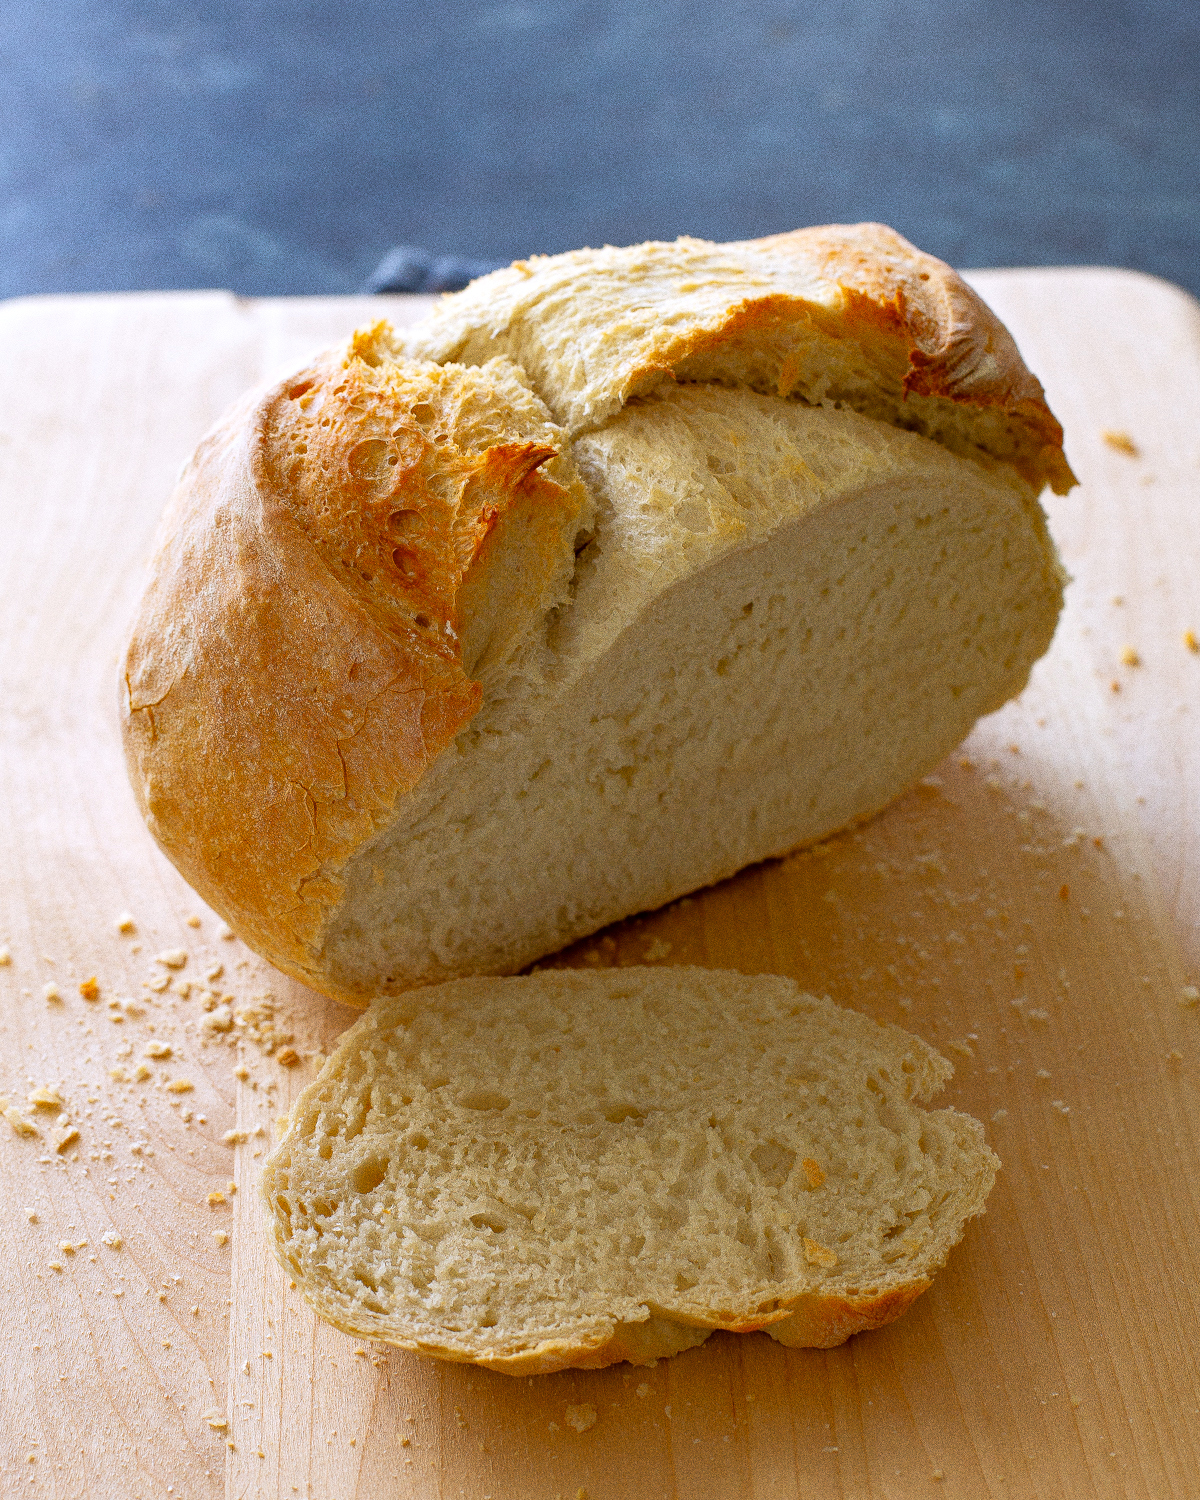
- Chewy Texture and Open Crumb: The hydration levels and fermentation process in artisan bread recipes typically result in a desirable chewiness and an airy, irregular interior structure.
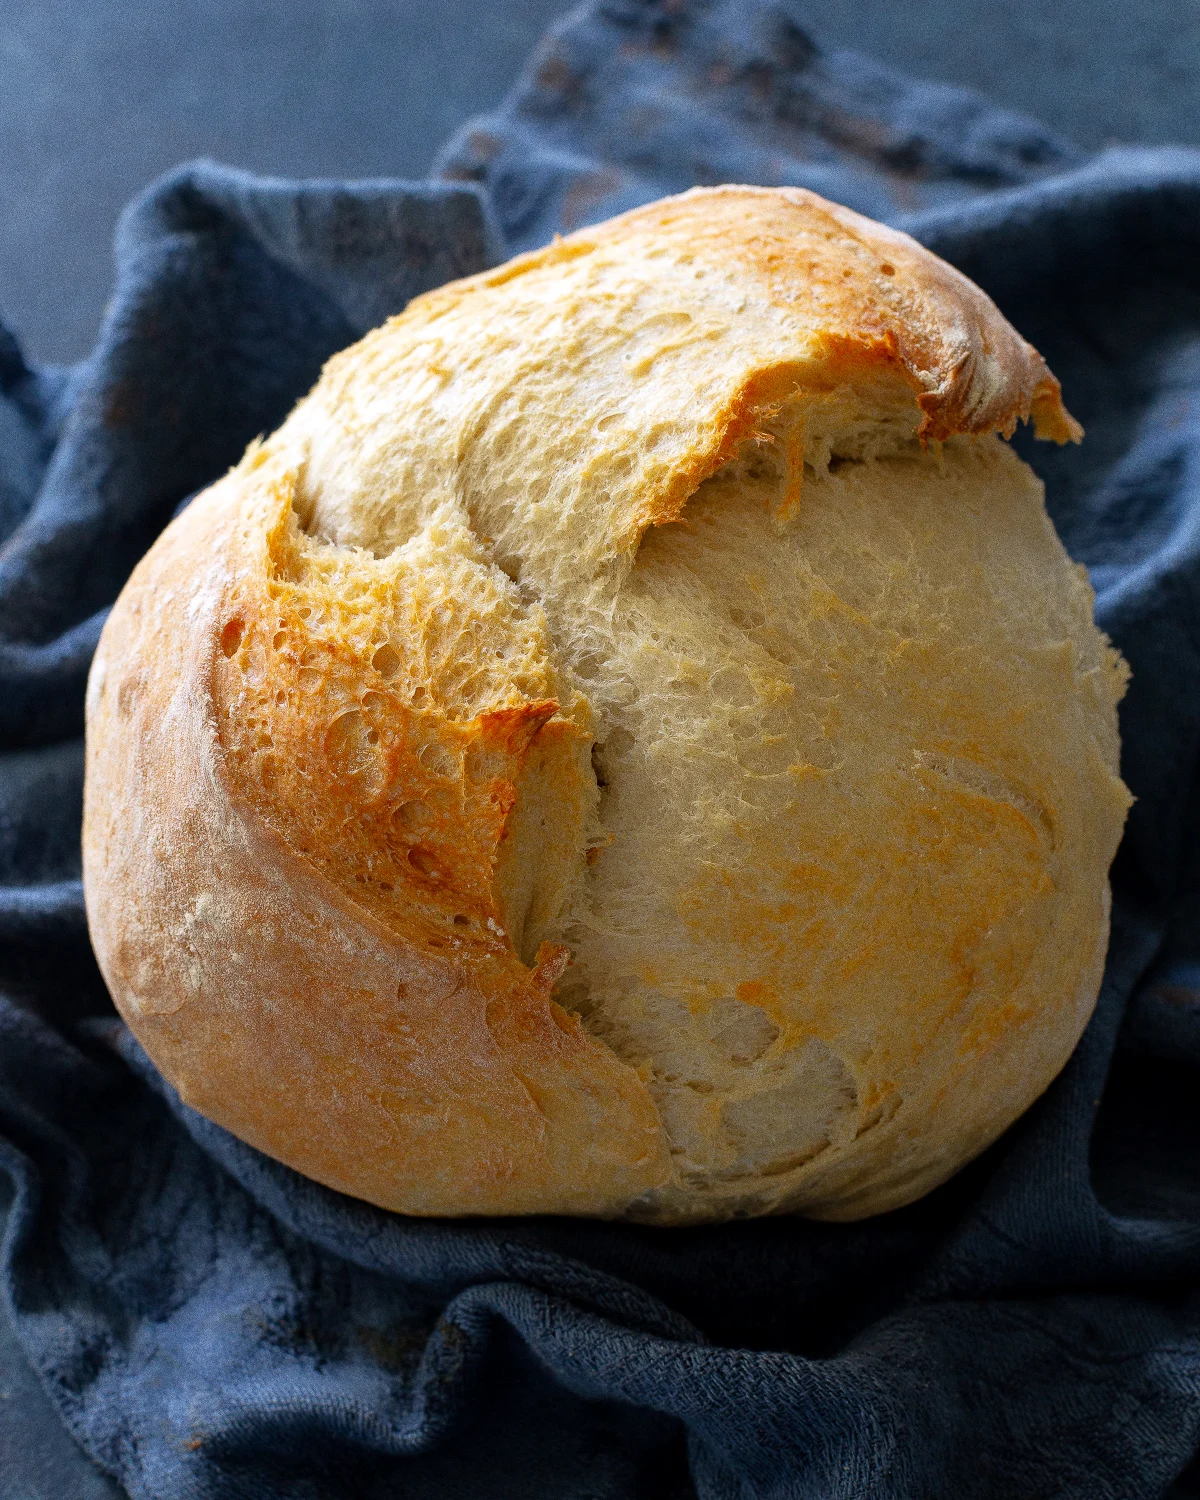
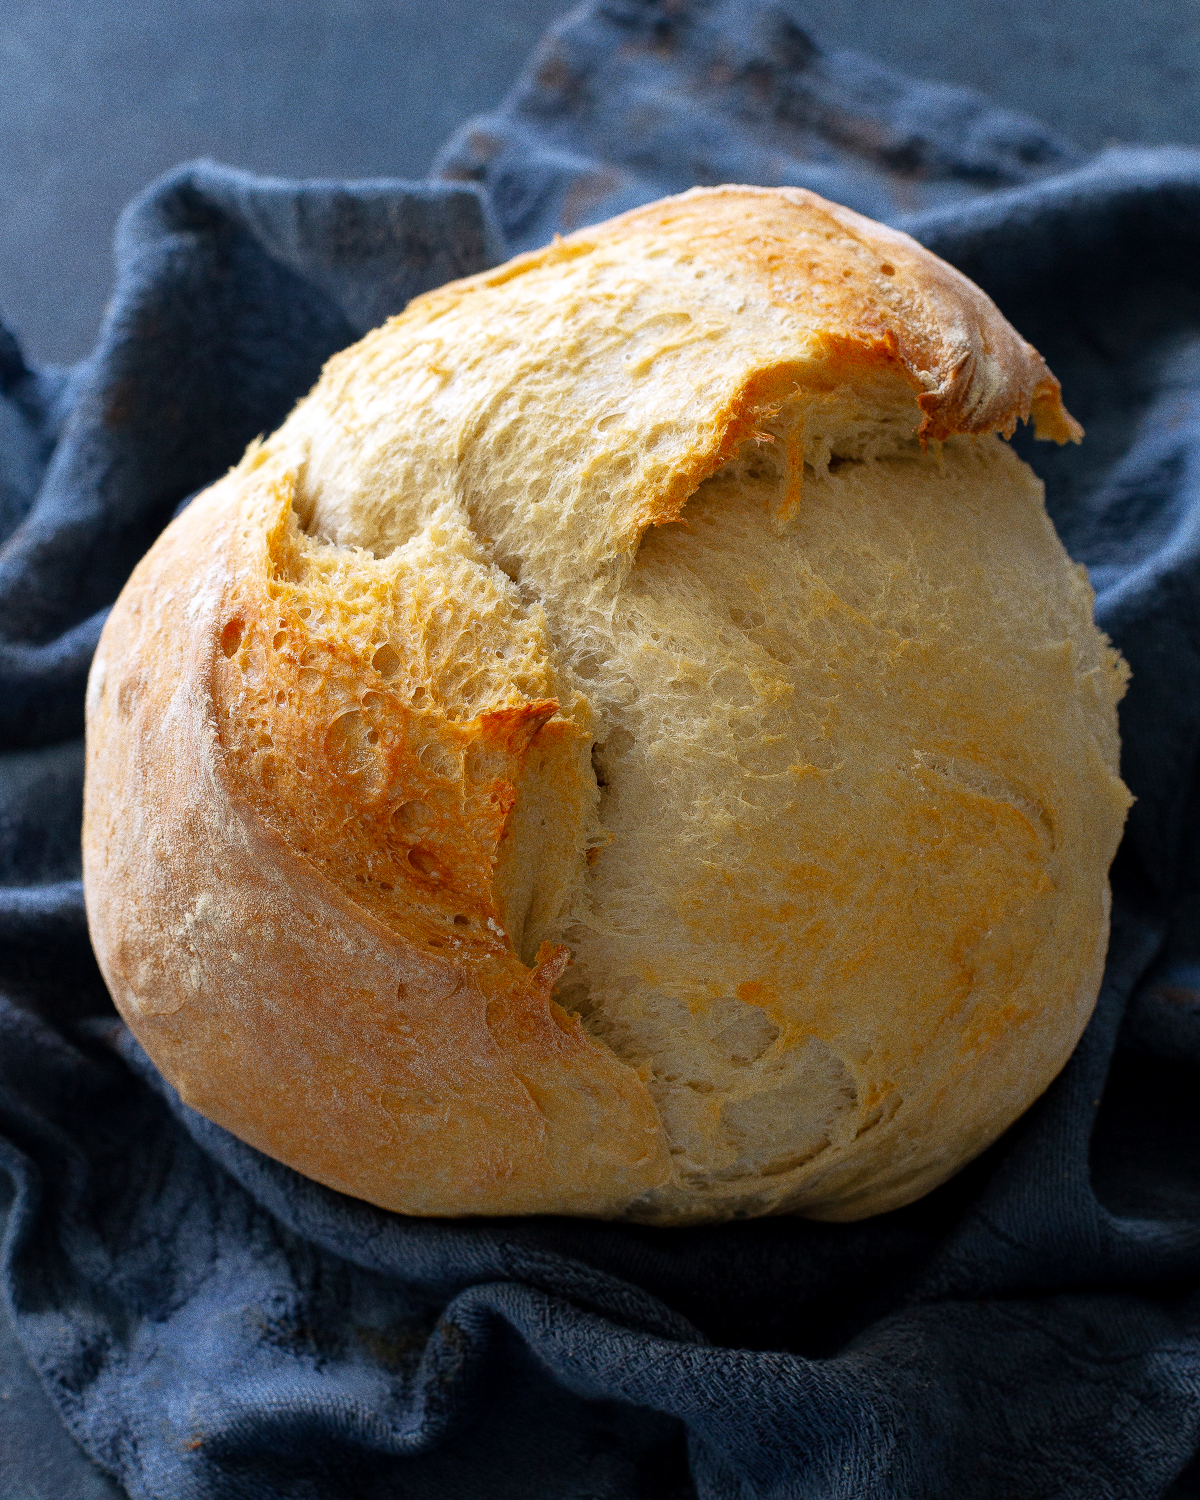
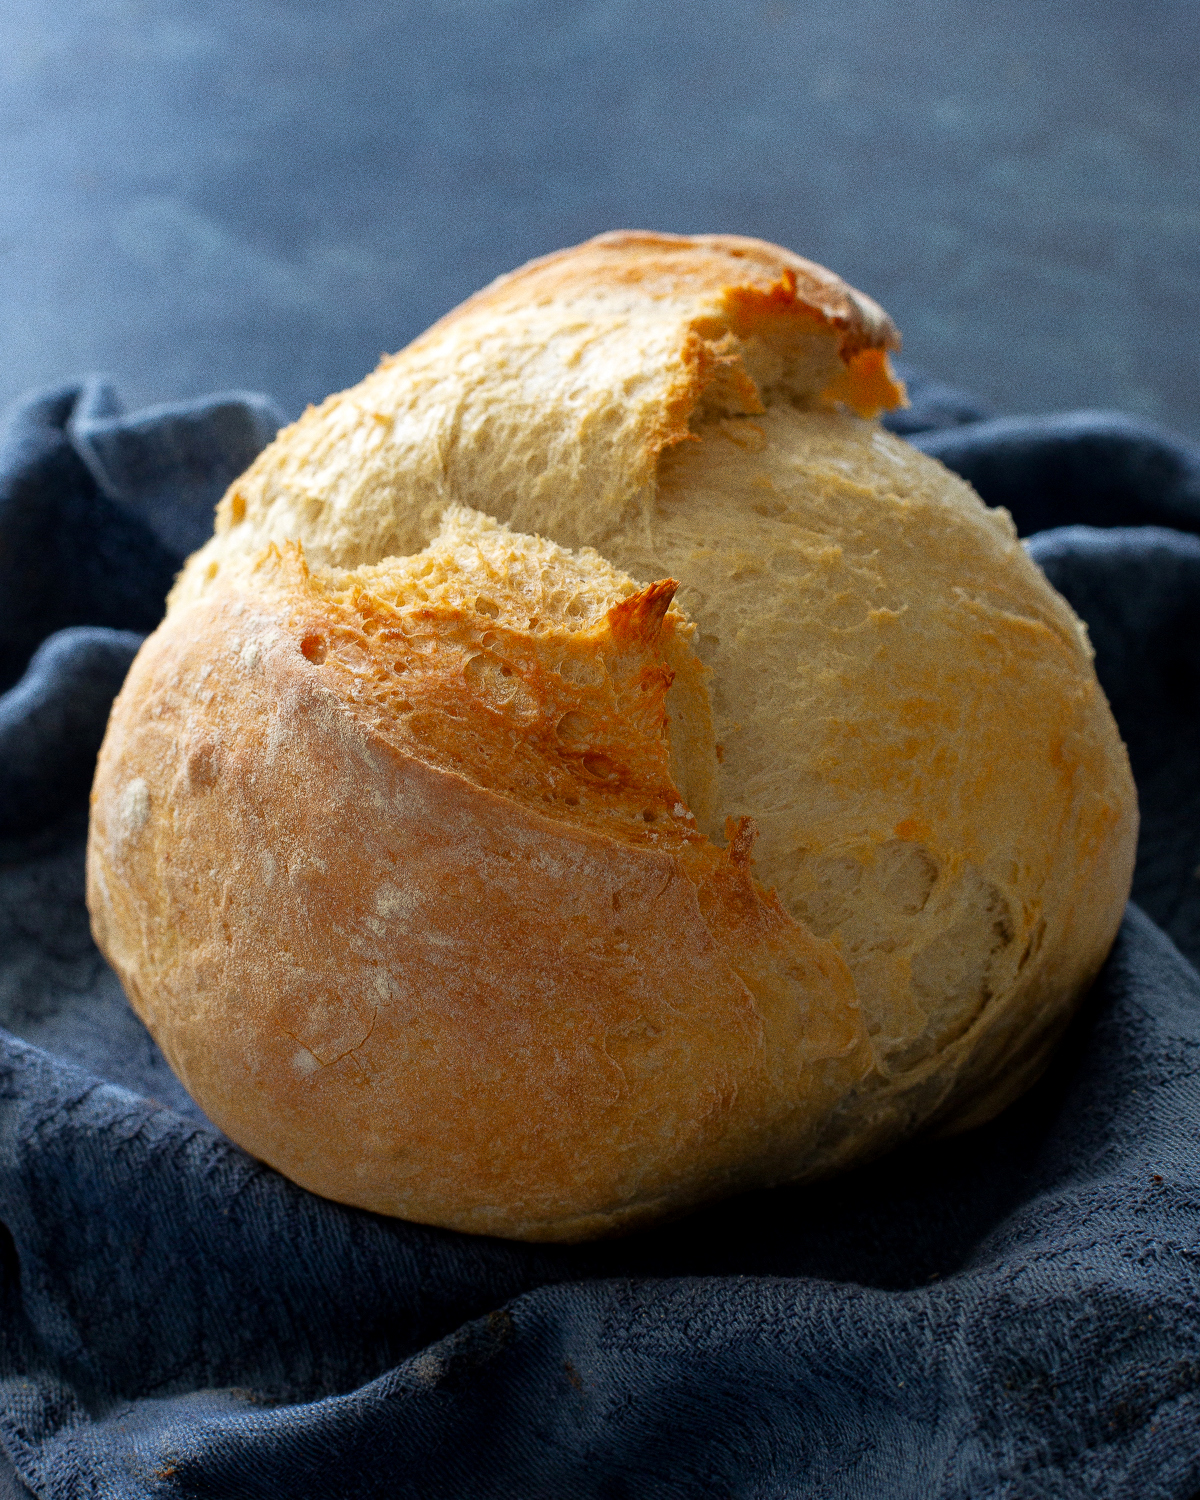
- Crisp, Golden Crust: High-temperature baking, often in a covered pot like a Dutch oven, is crucial for developing the signature crust. The trapped steam during the initial baking phase allows the crust to expand and caramelize, creating that satisfying crunch.
- Traditional Methods: The emphasis is on natural leavening and minimal manipulation of the dough, allowing the ingredients and time to work their magic.
The baking environment plays a significant role. High heat, coupled with steam, is instrumental in achieving the characteristic crust. This is where tools like a Dutch oven become invaluable, as they mimic the conditions of a professional bread oven by trapping steam released from the dough.

The Simple Equation: Ingredients for Homemade Artisan Bread
The beauty of this particular artisan bread recipe lies in its minimalist ingredient list, making it accessible even for those with limited pantry supplies. The fundamental components are:
- Flour: While bread flour, with its higher protein content, is often recommended for its ability to develop stronger gluten structures and result in a chewier texture, all-purpose flour is a perfectly viable alternative. The difference in texture will be subtle, with all-purpose flour yielding a slightly softer crumb. The choice between them often comes down to personal preference and ingredient availability.
- Yeast: Active dry yeast or instant yeast are the leavening agents that will transform the simple dough into a light and airy bread. Ensuring the yeast is fresh is crucial for proper rising.
- Salt: Salt is not merely for flavor; it also plays a vital role in controlling yeast activity and strengthening the gluten network.
- Water: The temperature of the water is important. Warm water (typically between 105-115°F or 40-46°C) is ideal for activating the yeast without killing it.
The precise quantities of these ingredients are critical for achieving the desired dough consistency and final bread texture. While specific measurements are provided in detailed recipes, understanding the role of each component allows for minor adjustments and troubleshooting.
The Art of Creation: How to Make Artisan Bread
The process of creating artisan bread, while requiring patience, is remarkably straightforward and can be broken down into manageable steps:

Step 1: Mixing the Dough
The initial stage involves combining the dry ingredients – flour, salt, and yeast – in a large mixing bowl. The warm water is then added, and the mixture is stirred until a cohesive, albeit shaggy, dough begins to form. At this point, the dough will appear wet and perhaps a bit messy, which is precisely the desired outcome. This high hydration is key to the open crumb structure characteristic of artisan bread. The bowl is then covered, typically with plastic wrap or a clean kitchen towel, to prevent the dough from drying out.
Step 2: The Gentle Rise
This is where patience becomes a baker’s virtue. The dough is left to rise at room temperature for an extended period, usually 2 to 3 hours. During this time, the yeast will ferment, producing carbon dioxide gas that causes the dough to expand and develop its characteristic airy texture. For bakers seeking a more complex flavor profile, the dough can be refrigerated for a longer rise, extending up to 3 days. This slow, cold fermentation allows for a deeper development of complex flavors and aromas.
Step 3: Shaping the Loaf
Once the dough has sufficiently risen, it’s time to shape it. The process begins by lightly flouring a clean work surface. The dough is then gently turned out onto the floured surface. The goal is to shape the dough into a round loaf without deflating it excessively. This is achieved by gently folding the edges of the dough towards the center a few times, creating a taut surface. Overworking the dough at this stage can lead to a dense final product.
After shaping, the dough is carefully placed on a piece of parchment paper. This parchment paper will later facilitate the transfer of the dough into the hot baking vessel. A sharp knife or razor blade is then used to make a single, decisive slash across the top of the loaf. This scoring allows the bread to expand predictably during baking, preventing it from bursting in unwanted places and contributing to the aesthetic appeal of the finished product.
Step 4: The Crucial Preheat
The success of achieving a perfect artisan crust hinges on the baking temperature and the use of steam. Therefore, preheating a Dutch oven, with its lid securely in place, to a high temperature (typically 450°F or 230°C) is a critical step. This intense heat primes the oven environment for optimal bread baking. The preheated Dutch oven is essential for trapping the steam released by the dough, which is the key ingredient for developing that sought-after crackly, golden crust. For those without a Dutch oven, a preheated baking sheet can be used, though the crust development might be slightly less pronounced.
Step 5: The Bake
With the oven and Dutch oven thoroughly preheated, the shaped dough is carefully transferred into the hot pot using the parchment paper as a sling. The lid is replaced, and the bread bakes, covered, for approximately 30 minutes. This initial covered period allows the dough to rise further in the steamy environment before the crust begins to set.
After 30 minutes, the lid is removed, exposing the dough directly to the oven’s heat. The bread then continues to bake for an additional 10 to 15 minutes, or until it achieves a deep golden-brown hue, indicating that the crust is perfectly caramelized and the interior is fully cooked. The aroma filling the kitchen at this stage is a testament to the baker’s efforts.
Once baked, the bread is removed from the Dutch oven and placed on a wire rack to cool completely. Slicing into hot bread can result in a gummy texture, so allowing it to cool ensures the crumb structure sets properly.
Storing Your Homemade Masterpiece
Proper storage is essential to maintain the quality of your artisan bread. At room temperature, loosely wrapped in a bread bag or a clean kitchen towel, it will remain fresh for up to 3 days. For longer preservation, the bread can be sliced and stored in an airtight freezer bag. To enjoy it again, simply reheat the slices in a moderate oven for a few minutes, and they will regain much of their freshly baked texture and flavor.
Addressing Common Baking Concerns
- Flour Substitutions: As mentioned, while bread flour is ideal for a chewier crumb, all-purpose flour is a perfectly acceptable substitute. The protein content difference will result in a slightly softer texture, but the overall flavor and quality will still be excellent.
- Dense Bread: A dense loaf is often a consequence of a few common issues. Insufficient rising time, meaning the yeast didn’t have enough opportunity to produce gas, is a primary culprit. Overworking the dough during shaping can also knead out the air pockets. Finally, an oven that isn’t hot enough will not provide the necessary oven spring and crust development.
Broader Implications and the Joy of Baking
The ability to create delicious artisan bread at home extends beyond mere culinary satisfaction. It taps into a primal connection with food, offering a sense of accomplishment and self-sufficiency. In an era where processed foods are prevalent, the embrace of simple, wholesome ingredients and traditional methods offers a refreshing counterpoint. Furthermore, the practice of baking can be a meditative and rewarding experience, providing a creative outlet and a tangible result of one’s efforts. The shared experience of enjoying homemade bread with family and friends further amplifies its value, fostering connection and creating lasting memories. This recipe serves as an invitation to embark on that journey, proving that exceptional bread is well within reach of any home baker.
