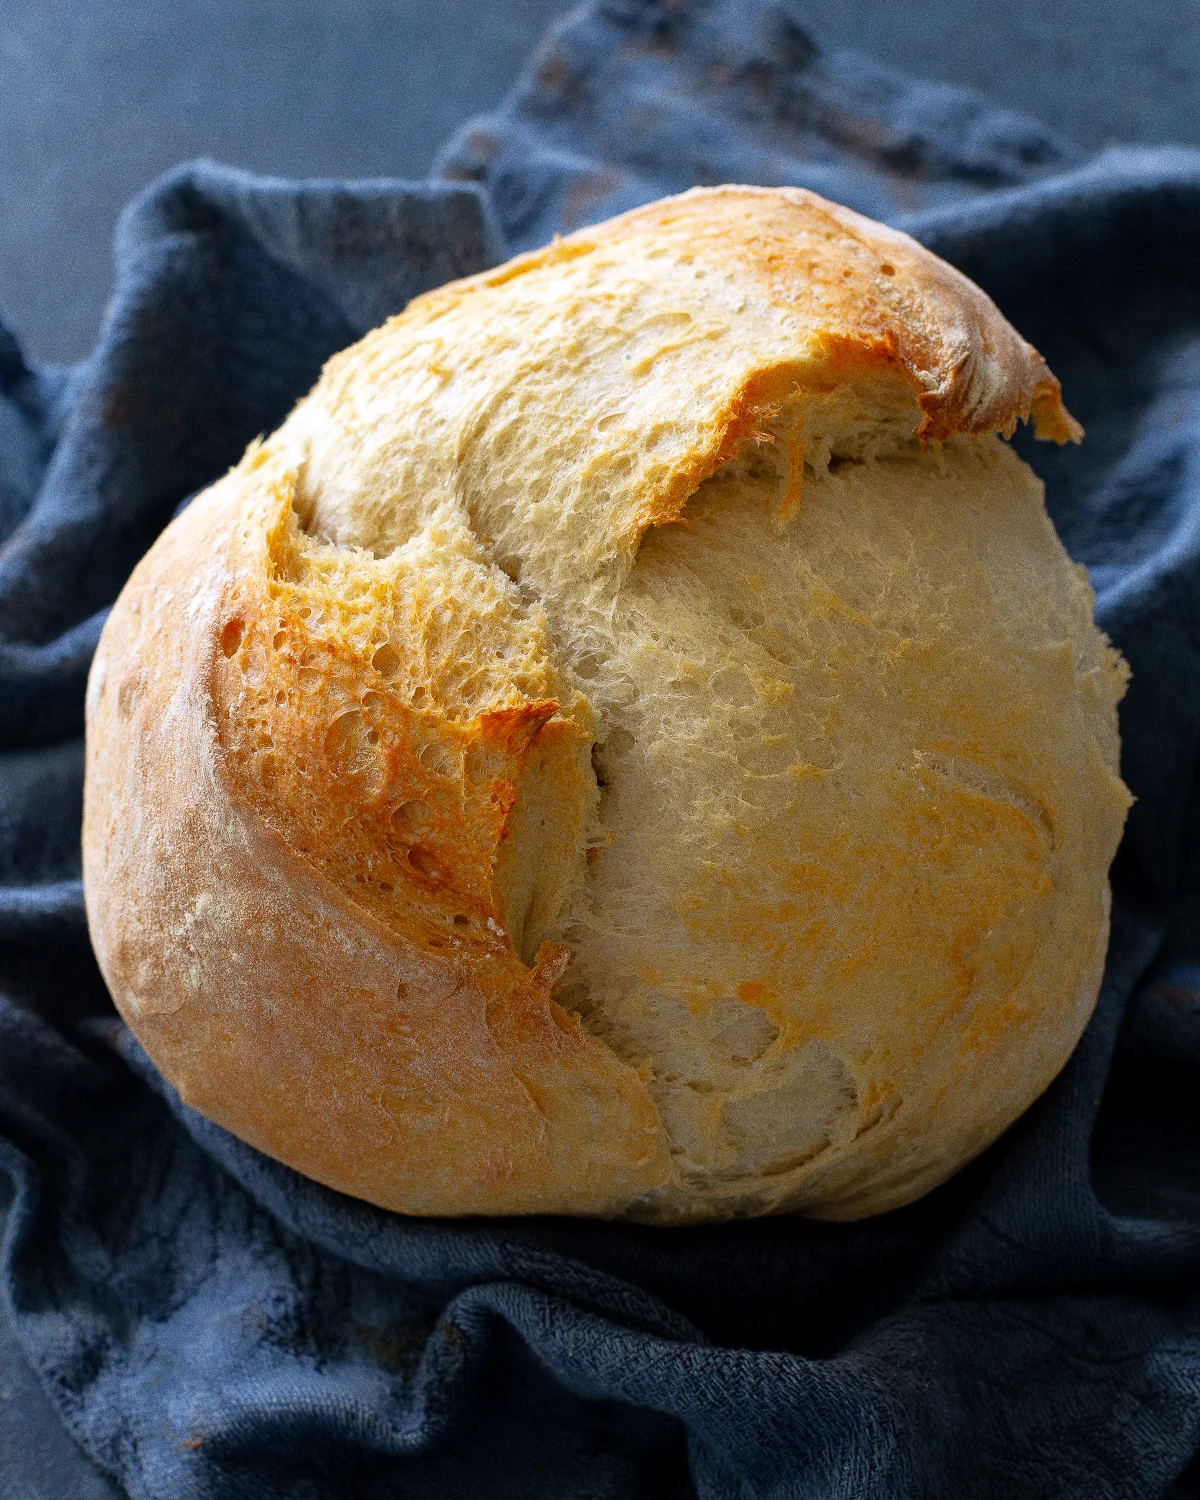
There’s an undeniable allure to a freshly baked loaf of artisan bread. The symphony of a crackling crust yielding to a tender, airy crumb, all perfumed with an aroma that promises pure comfort, is a culinary experience that transcends the ordinary. For home bakers seeking that quintessential bakery-quality bread without the associated complexity, a remarkably simple recipe has emerged, proving that exquisite results are attainable with just a few fundamental ingredients and a touch of patience. This straightforward approach to artisan bread making demystifies the process, making it accessible to even the most novice of cooks.
The fundamental components of this accessible artisan bread recipe are elegantly simple: flour, yeast, salt, and water. These four staples, found in virtually any kitchen pantry, form the bedrock of countless bread traditions worldwide. The magic lies not in exotic ingredients, but in the careful balance and the gentle coaxing of these elements to transform into a culinary masterpiece. This recipe stands as a testament to the power of simplicity, offering a no-fuss pathway to a rustic loaf that rivals its artisanal counterparts found in specialty bakeries.
The Essence of Artisan Bread
Before delving into the practicalities of creation, it’s beneficial to understand what defines "artisan bread." This term generally refers to bread crafted using traditional methods, prioritizing simple, high-quality ingredients. Unlike mass-produced sandwich bread, which often incorporates additives for extended shelf life and specific textures, artisan loaves are celebrated for their distinct characteristics: a chewy, open crumb structure, often characterized by irregular air pockets, and a robust, crisp crust. The creation of this signature crust is frequently achieved through high-temperature baking, often within a Dutch oven. This enclosed environment traps steam released from the dough, which is crucial for developing that desirable golden, crackly exterior before the loaf fully sets.
The appeal of homemade artisan bread extends beyond its taste and texture. It represents a connection to a time-honored craft, a satisfying hands-on endeavor that culminates in a tangible, delicious reward. For many, the act of baking bread is a therapeutic ritual, a mindful practice that offers a welcome respite from the demands of modern life. The process, while requiring patience, is inherently forgiving, allowing for a learning curve that builds confidence with each bake.
Demystifying the Dough: Ingredients and Method
The beauty of this particular artisan bread recipe lies in its minimal ingredient list and straightforward preparation.

Key Ingredients:
- Flour: While bread flour, with its higher protein content, can contribute to a chewier texture and more structured loaf, all-purpose flour proves to be a perfectly viable alternative. The difference in the final product is often subtle, making the recipe adaptable to what is readily available.
- Yeast: The leavening agent that breathes life into the dough, activating and producing the carbon dioxide that creates the bread’s airy structure.
- Salt: Essential for flavor, salt also plays a critical role in controlling yeast activity and strengthening the gluten network within the dough.
- Water: The solvent that hydrates the flour, enabling gluten development, and activating the yeast. The temperature of the water is important; lukewarm water is ideal for optimal yeast activation.
The Simple Steps to a Perfect Loaf:
The creation process is elegantly broken down into distinct, manageable stages:

-
Mixing the Dough: The initial step involves combining the dry ingredients – flour, salt, and yeast – in a large bowl. Warm water is then gradually added, and the mixture is stirred until a shaggy, cohesive dough begins to form. At this stage, the dough will appear somewhat sticky and unrefined, which is precisely the desired outcome. This initial hydration is key to developing the gluten structure that will eventually give the bread its characteristic texture. The bowl is then covered, typically with plastic wrap or a clean kitchen towel, to create a warm, humid environment for the dough.
-
The Rise (Fermentation): This is where patience is rewarded. The covered dough is left to rise at room temperature for approximately 2 to 3 hours. During this period, the yeast actively consumes sugars in the flour, producing carbon dioxide gas and alcohol. The carbon dioxide gets trapped within the gluten network, causing the dough to expand and become light and airy. For those seeking a more complex flavor profile, an extended cold fermentation is an option. The dough can be refrigerated for up to 3 days, allowing for a slower, more controlled rise that develops deeper, nuanced flavors. This technique is often employed by professional bakers to enhance the character of their bread.
-
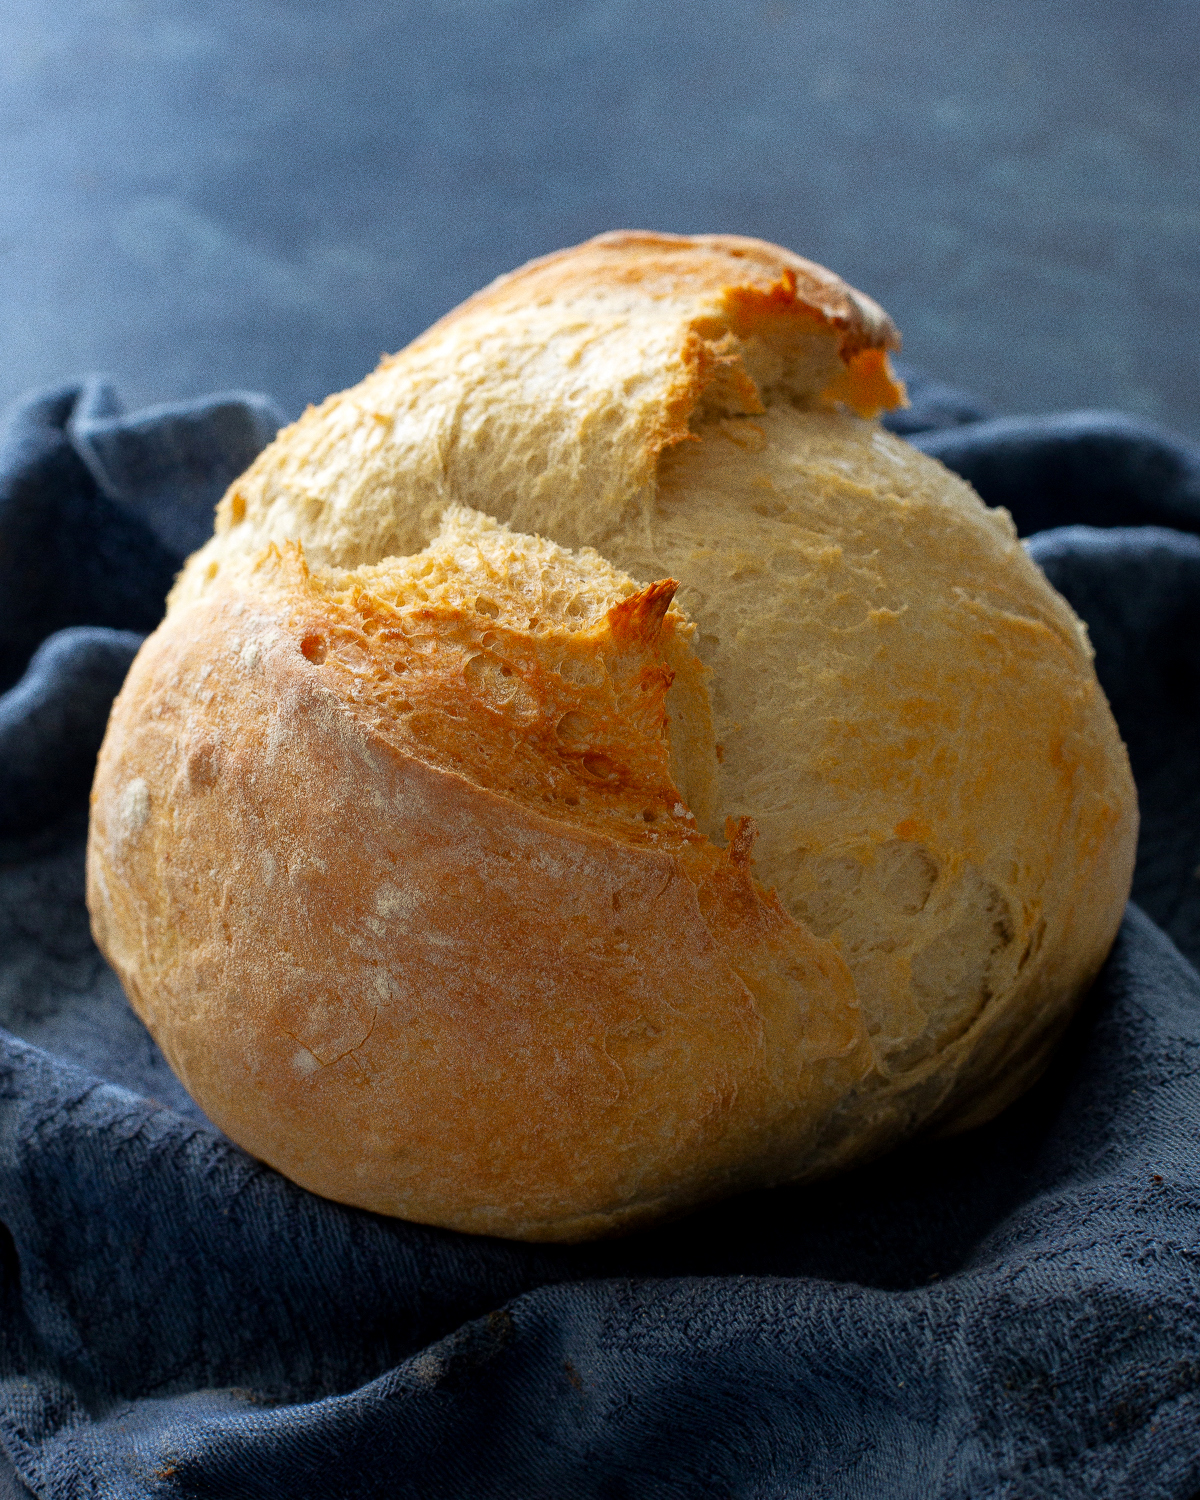
Shaping the Loaf: Once the dough has sufficiently risen, it is gently turned out onto a lightly floured surface. The key here is to handle the dough with care, avoiding overworking it, which can toughen the final product. The edges of the dough are then folded towards the center a few times, creating a rustic, round loaf. This gentle shaping helps to build a slight tension on the surface of the dough, contributing to its final form. The shaped dough is then placed on a piece of parchment paper, which will facilitate its transfer into the hot oven. A sharp knife or a lame is used to make a single, decisive slash across the top of the loaf. This score allows the bread to expand in a controlled manner during baking, preventing blowouts and contributing to the aesthetic appeal.
-
Preheating the Baking Vessel: A critical element in achieving that coveted artisan crust is the use of high heat and steam. For optimal results, a Dutch oven is recommended. The Dutch oven, with its lid securely in place, is preheated in the oven to a high temperature, typically around 450°F (232°C). Preheating the cast-iron vessel ensures that it is searingly hot when the dough is introduced, creating an immediate burst of heat and steam. While a Dutch oven is ideal, the bread can also be baked successfully on a preheated baking sheet, though the crust may be slightly less pronounced.
-
The Bake: With the oven and Dutch oven thoroughly preheated, the shaped dough, still on its parchment paper, is carefully transferred into the hot Dutch oven. The lid is replaced, and the bread is baked for approximately 30 minutes. This initial covered period traps the moisture released by the dough, creating a steamy environment that allows the loaf to expand fully before the crust begins to harden. After 30 minutes, the lid is removed, and the baking continues for another 10 to 15 minutes, or until the crust is deeply golden brown and sounds hollow when tapped on the bottom. This final uncovered phase allows the crust to crisp up and achieve its signature texture.
-
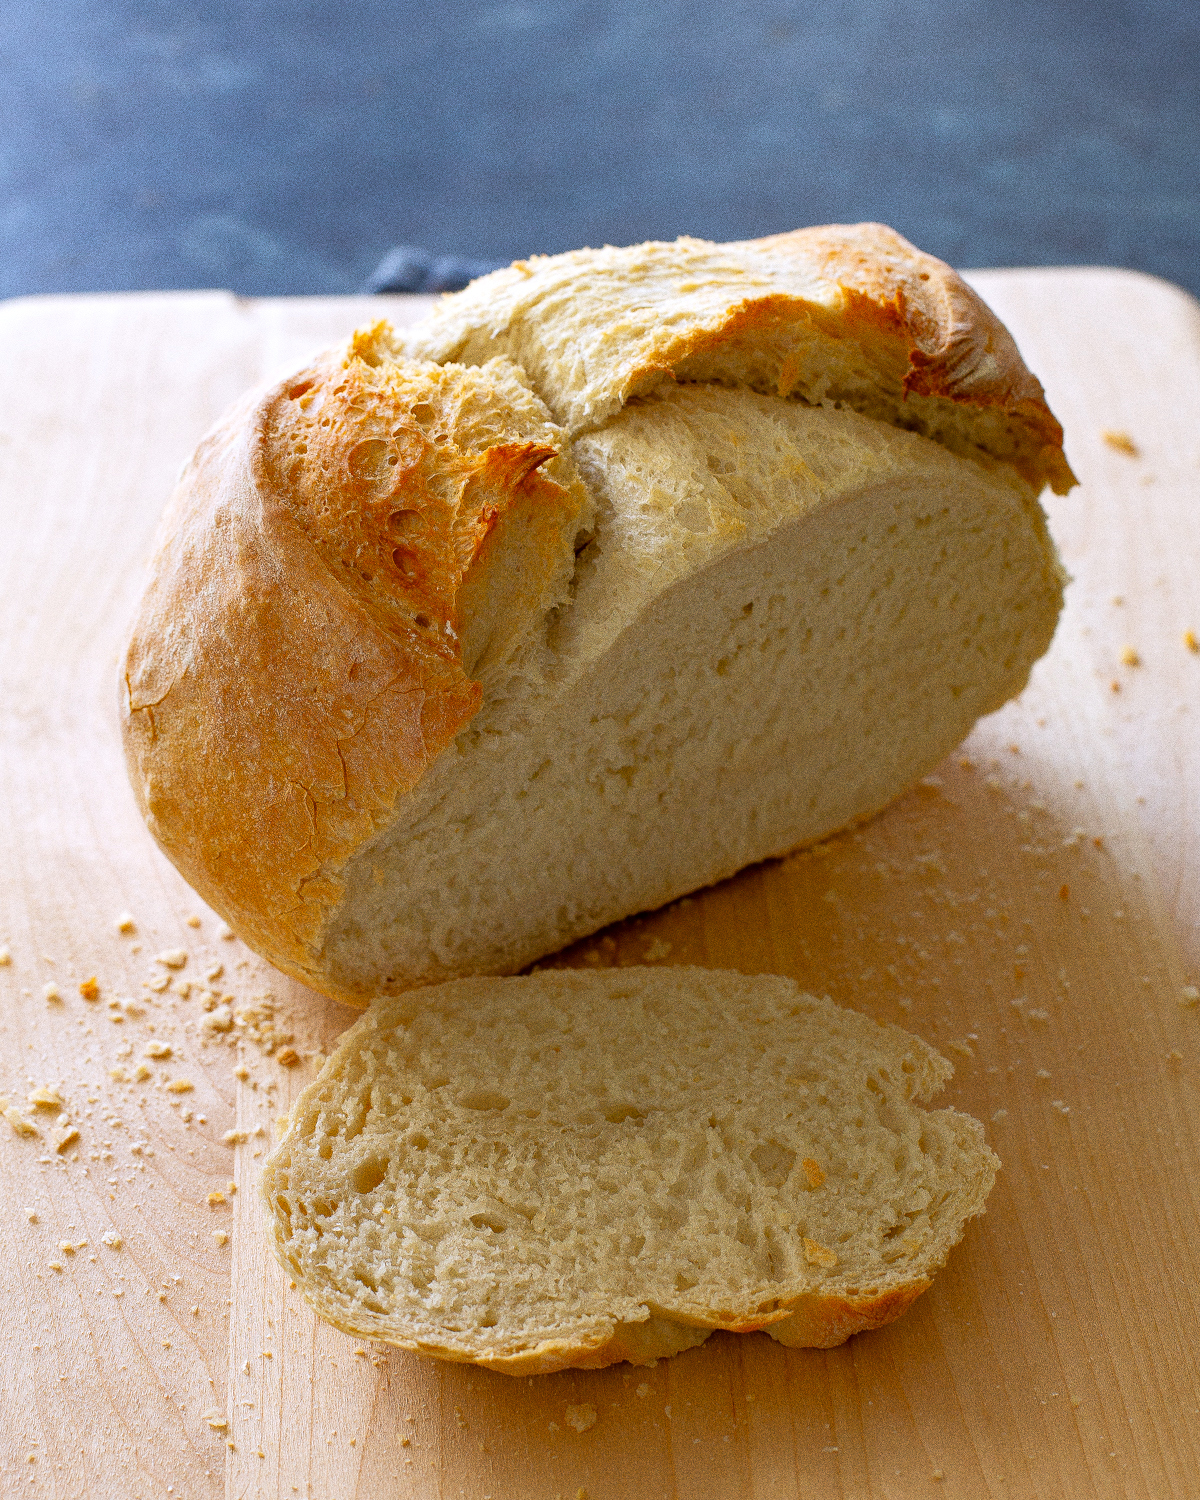
Cooling: Once baked to perfection, the loaf is removed from the Dutch oven and placed on a wire rack to cool completely. This step is crucial. While the temptation to slice into the warm, fragrant bread is immense, allowing it to cool ensures that the internal structure fully sets and the moisture redistributes evenly. Slicing too early can result in a gummy texture.
Storing Your Homemade Masterpiece
Proper storage is key to maintaining the freshness and quality of your artisan bread. Loosely wrapped at room temperature, the bread will typically stay fresh for up to 3 days. For longer preservation, slicing the cooled loaf and storing it in an airtight bag in the freezer is an excellent option. To enjoy, simply reheat slices in the oven, and they will regain much of their freshly baked texture and flavor.
Troubleshooting Common Baking Challenges
While this recipe is designed for simplicity, occasional issues can arise.
- Dense Bread: A common culprit for dense artisan bread is insufficient yeast activity or an underdeveloped gluten structure. This can stem from using water that is too hot or too cold, which can inhibit yeast. Alternatively, the dough may not have been allowed to rise for a sufficient duration, or it may have been over-kneaded, which can develop too much gluten too quickly, leading to a tougher texture. Another factor can be the type of flour used; while all-purpose works, bread flour’s higher protein content contributes to a lighter crumb.
The Broader Impact of Accessible Baking
The availability of such a straightforward and rewarding artisan bread recipe has significant implications for home cooks. It democratizes a formerly intimidating culinary skill, empowering individuals to create high-quality bread in their own kitchens. This not only fosters a greater appreciation for the art of baking but also encourages healthier eating habits by reducing reliance on commercially produced breads that may contain preservatives and additives. The ability to control the ingredients used in one’s food provides a sense of autonomy and satisfaction. Furthermore, the shared experience of baking, whether through online communities or simply sharing loaves with family and friends, strengthens social connections. As culinary trends continue to emphasize artisanal and homemade products, recipes like this one serve as vital gateways, making sophisticated culinary experiences accessible to a wider audience. The enduring appeal of freshly baked bread, coupled with the ease of this recipe, ensures its place as a staple for home bakers for years to come.
