The allure of freshly baked artisan bread, with its crackling golden crust and soft, yielding interior, is a universal comfort. For many, the idea of recreating this bakery-quality experience at home might seem daunting, reserved for seasoned bakers with specialized equipment. However, a new wave of accessible recipes is proving that the magic of artisan bread is well within reach for the everyday home cook. At its core, artisan bread is a testament to simplicity, relying on a fundamental quartet of ingredients: flour, yeast, salt, and water. This approach strips away complexity, focusing on technique and patience to yield a loaf that is both rustic and refined.
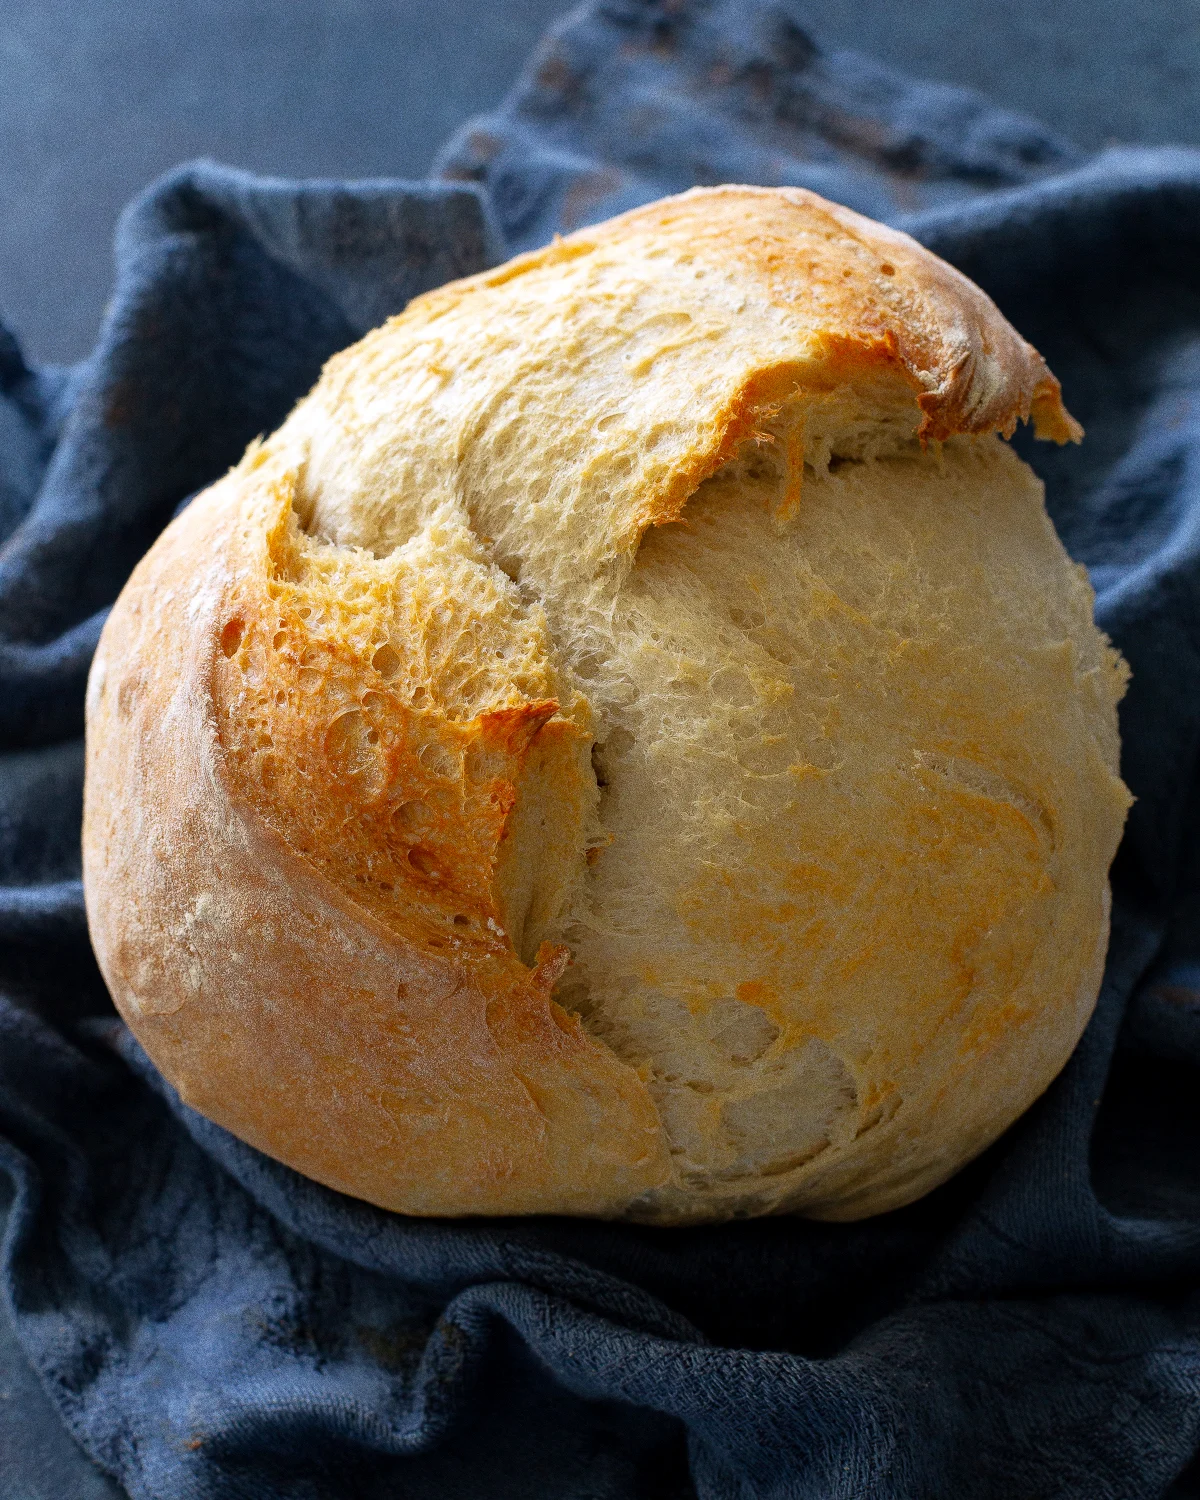
The essence of artisan bread lies in its traditional preparation. Unlike mass-produced breads, which often incorporate additives for extended shelf life and consistent texture, artisan loaves are characterized by their minimal ingredient list and the distinctive characteristics that arise from their natural fermentation and baking process. These breads are celebrated for their chewy crumb, often marked by irregular air pockets, and their substantial, crisp crust – a direct result of high-heat baking, frequently employing a Dutch oven to trap steam. This environment mimics the steam-injected ovens used by professional bakeries, crucial for developing that signature crust.
The rise in home baking, particularly in recent years, has seen a surge of interest in recipes that deliver impressive results with minimal fuss. The provided recipe for Easy Artisan Bread exemplifies this trend, emphasizing a straightforward method that requires no specialized equipment beyond basic kitchen tools and a standard oven. The appeal is clear: the satisfaction of producing a beautiful, flavorful loaf from scratch, using ingredients readily available in most pantries, and achieving a result that rivals, if not surpasses, store-bought alternatives.
Understanding the Pillars of Artisan Bread
What Constitutes Artisan Bread?
Artisan bread is fundamentally defined by its production methodology and ingredient purity. It is crafted using time-honored techniques, prioritizing the quality of a few core components: flour, water, yeast, and salt. This deliberate simplicity distinguishes it from conventional breads found on supermarket shelves. The characteristic textures—a satisfying chewiness, an irregular, open crumb, and a robust, crisp crust—are not accidental but are the direct outcomes of the natural fermentation process and specific baking conditions. The "artisan" designation is often associated with small-scale production and a hands-on approach, allowing for the development of nuanced flavors and textures that are difficult to replicate in industrial settings.
The Crucial Role of High-Heat Baking
A key differentiator in artisan bread baking is the application of high heat. Recipes frequently call for preheating an oven to temperatures as high as 450°F (230°C). This intense heat, often combined with the use of a lidded Dutch oven, is instrumental in creating the desired crust. The Dutch oven acts as a miniature steam chamber. When the dough is placed inside the preheated vessel, the moisture within the dough is released as steam. This steam envelops the loaf, delaying the setting of the crust. This delay allows the bread to expand fully (oven spring) before the crust hardens, resulting in a lighter crumb and a crackling, golden exterior. Without this trapped steam, the crust would set too quickly, leading to a denser loaf and a less desirable texture.
The Simple Alchemy: Ingredients for Homemade Artisan Bread
The beauty of this particular artisan bread recipe lies in its minimalist ingredient list, showcasing that exceptional bread does not require exotic components.
- Flour: While bread flour, with its higher protein content, is often recommended for its ability to develop a stronger gluten structure, leading to a chewier texture, all-purpose flour is a perfectly viable substitute. The difference in texture may be subtle, but the overall success of the loaf remains high. The protein in flour interacts with water to form gluten, the elastic network that traps gases produced by yeast, enabling the bread to rise.
- Yeast: This microscopic fungus is the engine of leavening. Active dry yeast or instant yeast can be used, with instant yeast offering a slightly faster rise time as it doesn’t require proofing in warm water beforehand. Yeast consumes sugars in the flour and produces carbon dioxide gas and alcohol, which cause the dough to expand and contribute to the bread’s flavor profile.
- Salt: Far from just a flavor enhancer, salt plays a critical role in bread making. It strengthens the gluten structure, controls yeast activity (preventing it from fermenting too rapidly), and contributes significantly to the overall flavor complexity of the finished loaf.
- Water: The hydration level of the dough is crucial. Warm water (typically between 100-110°F or 38-43°C) is used to activate the yeast. The water hydrates the flour, allowing gluten to form, and provides the medium for yeast activity. The ratio of water to flour directly impacts the dough’s consistency and the final bread’s texture.
A Step-by-Step Guide to Baking Your Own Artisan Masterpiece
The process of creating artisan bread, as outlined in this accessible recipe, is a journey of patience and observation, broken down into manageable stages.

Step 1: Initiating the Dough
The process begins by combining the dry ingredients—flour, salt, and yeast—in a large mixing bowl. This ensures an even distribution of leavening and seasoning. Warm water is then introduced, and the mixture is stirred until a cohesive, albeit shaggy and sticky, dough begins to form. This initial stage is about hydration; the dough will appear unrefined and messy, which is precisely the desired outcome. This "shaggy" stage indicates that the flour has absorbed sufficient water to begin the gluten development process. The bowl is then covered with plastic wrap or a clean kitchen towel to retain moisture and prevent the dough from drying out.
Step 2: The Gentle Rise
Following the initial mix, the dough is left to rise at room temperature for a period of 2 to 3 hours. This extended fermentation allows the yeast to work its magic, producing carbon dioxide gas that causes the dough to significantly increase in volume. For those seeking to develop a more complex flavor profile, an even longer fermentation is possible. The dough can be refrigerated for up to three days. This slow, cold fermentation process, known as retarding, allows for the development of deeper, more nuanced flavors as the yeast and enzymes break down starches and proteins in the flour.
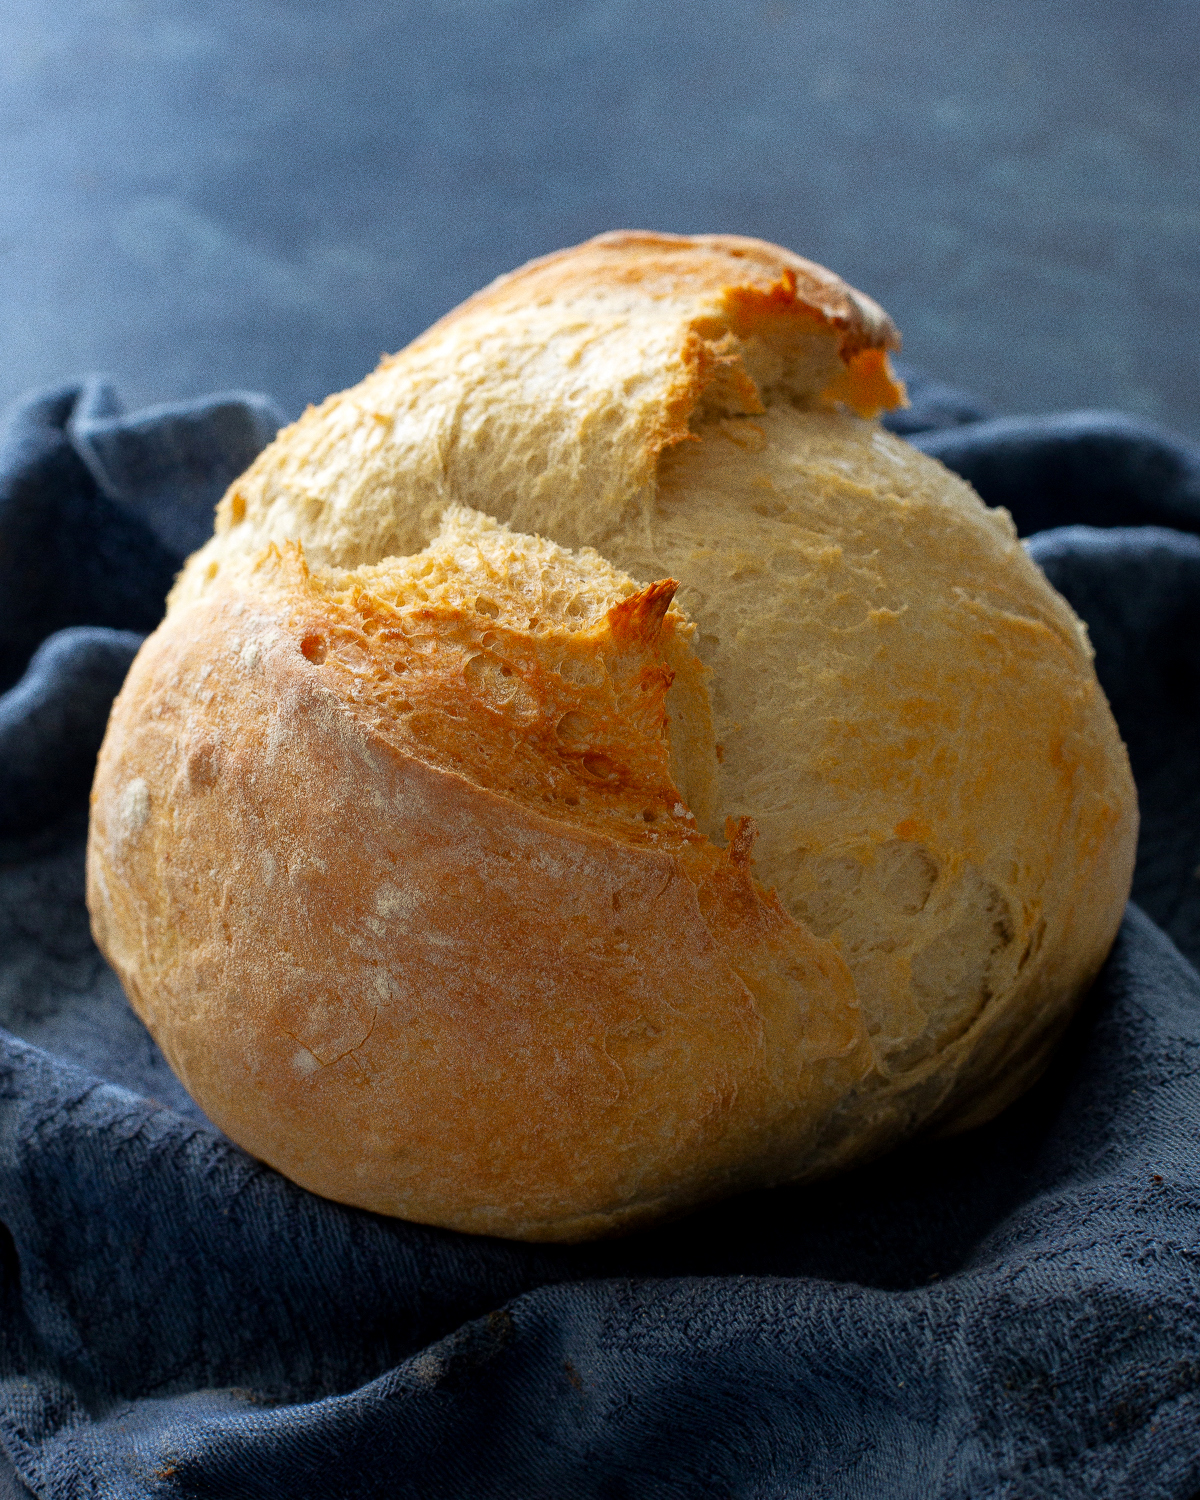
Step 3: Sculpting the Loaf

Once the dough has achieved its desired rise, it’s time to shape it. A lightly floured clean surface is crucial to prevent sticking. The dough is gently turned out, and its edges are folded towards the center a few times to create a rounded loaf. It’s important to emphasize that this is not a kneading process; overworking the dough at this stage can toughen it. The goal is to create some surface tension while preserving the air bubbles developed during fermentation. The shaped dough is then placed on a piece of parchment paper, making it easier to transfer to the hot baking vessel. A decisive cut, or score, is made on the top of the loaf with a sharp knife or razor blade. This score not only adds an aesthetic element but also controls where the bread expands during baking, preventing it from bursting open in uncontrolled fissures.
Step 4: Preheating the Crucible
The preheating of the Dutch oven is a critical step that directly influences the crust development. The lidded Dutch oven is placed into the oven and heated to a high temperature, typically 450°F (230°C). This ensures that the baking vessel is searingly hot when the dough is introduced, providing the initial blast of heat necessary for optimal oven spring and crust formation. For those without a Dutch oven, a preheated baking sheet can be used, though the crust may not achieve the same level of crispness. The preheating phase can take approximately 20-30 minutes to ensure the pot is thoroughly heated.
Step 5: The Transformation in the Oven
With the oven and Dutch oven at their peak temperature, the shaped dough, resting on its parchment paper, is carefully transferred into the hot Dutch oven. The lid is immediately placed back on. The bread is then baked covered for approximately 30 minutes. This initial covered period traps the steam released by the dough, facilitating maximum oven spring and contributing to a tender crumb. After 30 minutes, the lid is removed, allowing the crust to brown and crisp up. The bread continues to bake for an additional 10-15 minutes, or until it achieves a deep golden-brown color. The internal temperature of the bread should reach around 200-210°F (93-99°C) when done.
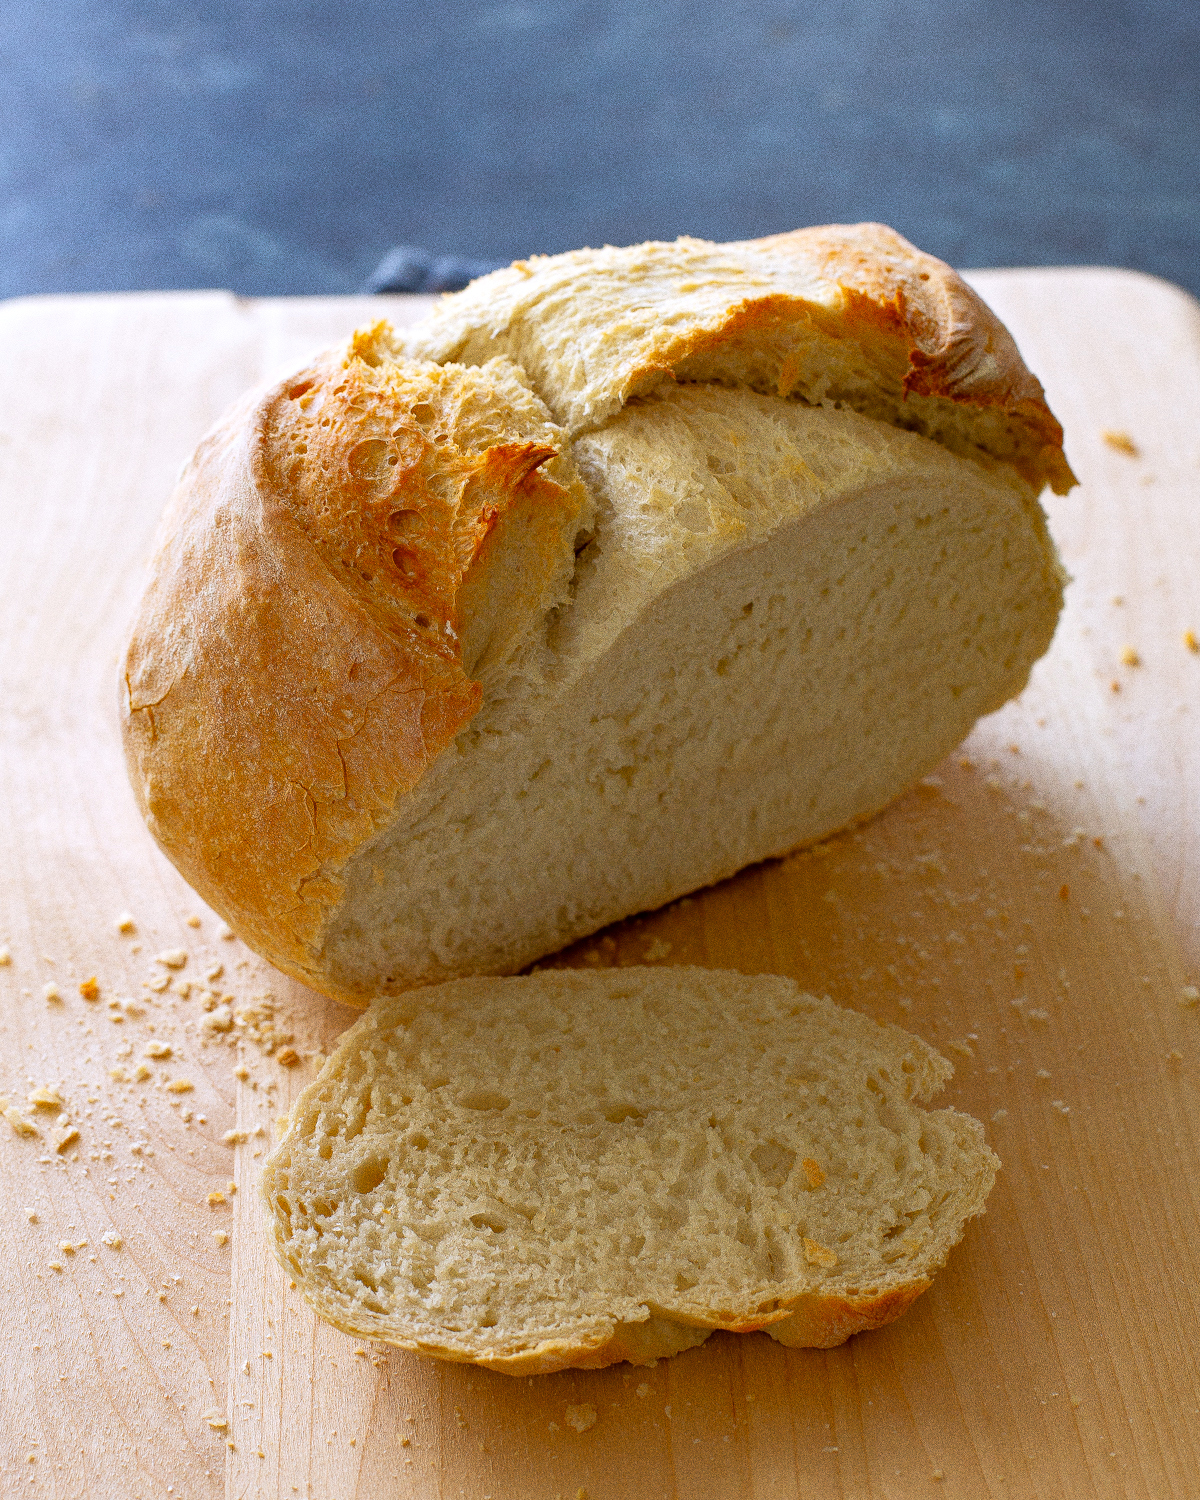
Cooling for Perfection
Perhaps as crucial as the baking itself is the cooling process. Once removed from the oven, the bread must be placed on a wire rack and allowed to cool completely before slicing. This resting period is essential for the internal structure of the bread to set properly. Cutting into a loaf too soon can result in a gummy texture, as the moisture within the bread continues to redistribute and the starches finish gelatinizing.
Addressing Common Baking Queries
Storing Your Homemade Loaf
Proper storage ensures that your delicious artisan bread remains enjoyable for as long as possible. Loosely wrapping the cooled loaf at room temperature will keep it fresh for up to three days. For longer preservation, slicing the bread and freezing it in an airtight bag is recommended. Reheating frozen slices in a warm oven can help restore their freshly baked texture.
The Flour Question: All-Purpose vs. Bread Flour
The recipe’s flexibility extends to flour choice. While bread flour, with its higher gluten content, tends to produce a chewier texture and a more robust structure, all-purpose flour is a perfectly acceptable alternative. The resulting bread will still be delicious, perhaps with a slightly softer crumb. The key is to use a good quality all-purpose flour.
Troubleshooting Dense Artisan Bread
A dense loaf is a common concern for novice bakers. Several factors can contribute to this outcome:
- Insufficient Rising Time: If the dough does not have adequate time to rise, the yeast will not have produced enough carbon dioxide gas to create an airy crumb.
- Overworking the Dough: Excessive kneading after the initial mix can develop the gluten too much, making the dough tough and hindering its ability to rise.
- Inaccurate Measurements: Using too much flour or too little water can result in a stiff dough that struggles to expand. Precise measurement, ideally by weight, is crucial.
- Inactive Yeast: Expired or improperly stored yeast may not be viable, leading to a lack of leavening.
Broader Implications and the Joy of Home Baking
The resurgence of interest in simple, high-quality baking reflects a broader societal trend towards mindful consumption and a desire for tangible, rewarding activities. In an era often dominated by digital interactions and mass-produced goods, the act of creating something with one’s own hands, especially something as fundamental and nourishing as bread, offers a profound sense of accomplishment. The ability to produce artisan bread at home democratizes a culinary art form, making it accessible and enjoyable for a wider audience. It fosters a connection to food, its origins, and the traditional processes that have sustained communities for centuries. This easy artisan bread recipe, therefore, is more than just a set of instructions; it’s an invitation to experience the simple, yet profound, joy of baking.
