
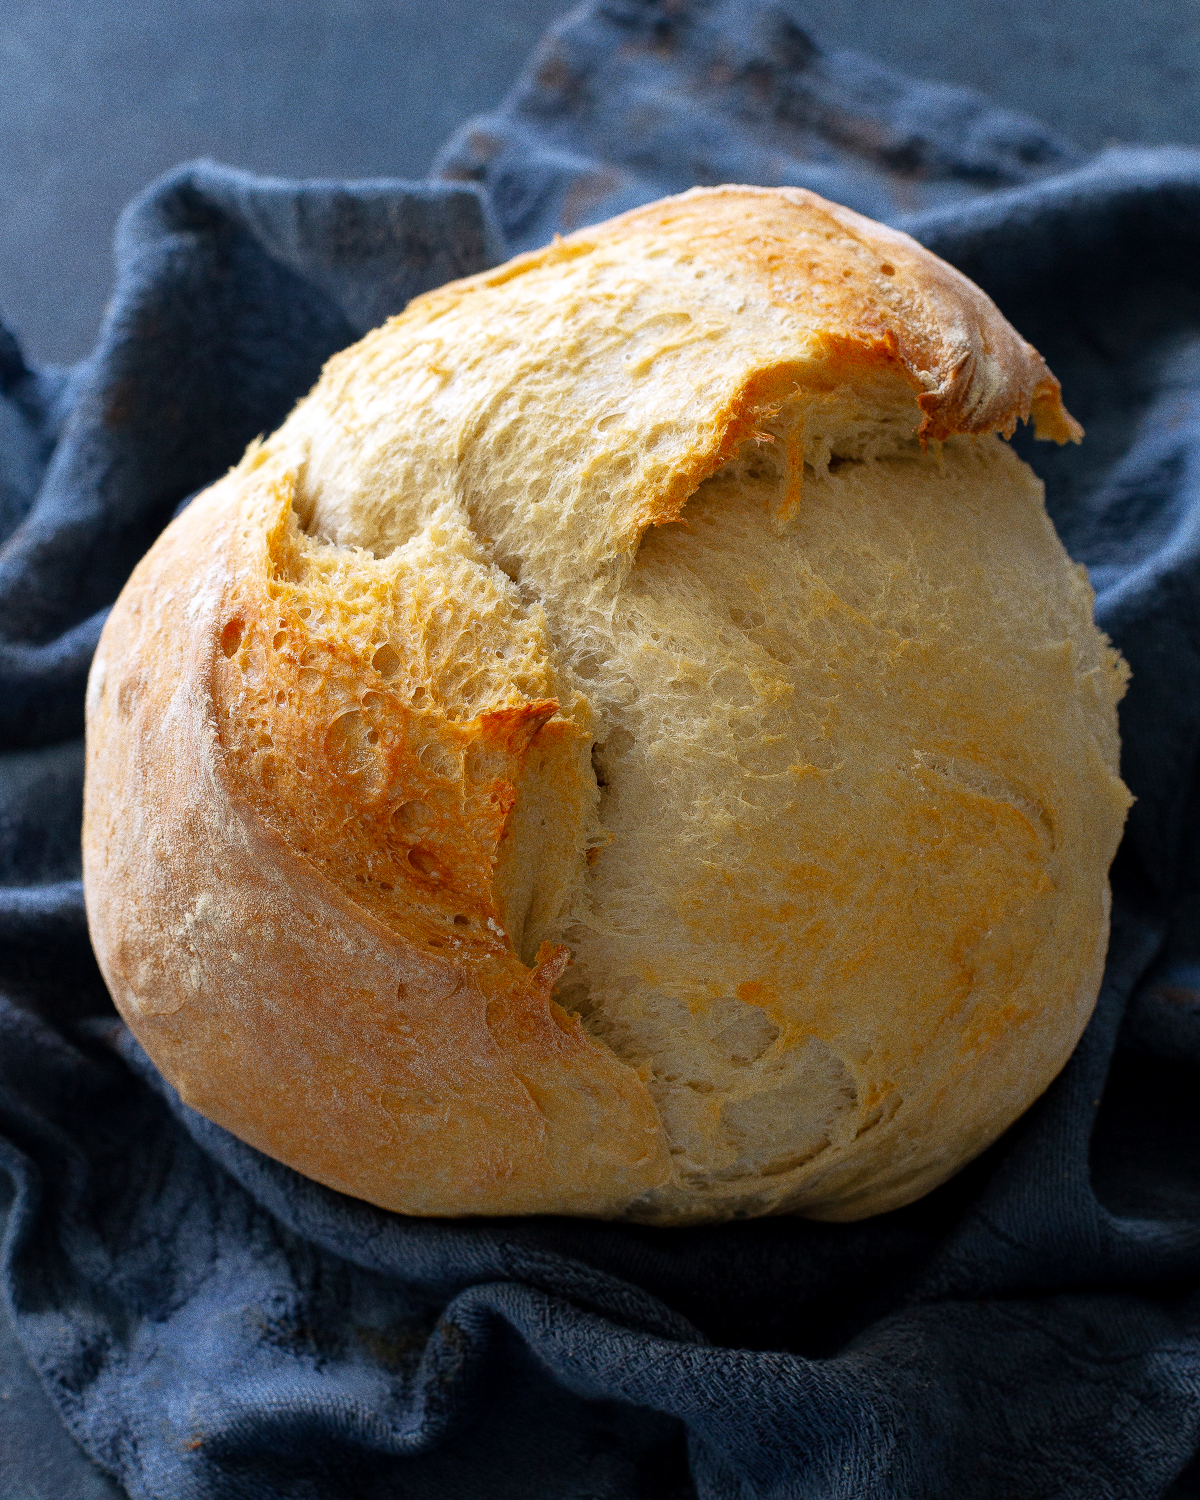
The allure of a freshly baked loaf of artisan bread, with its crackling golden crust and tender, airy interior, has long been a source of comfort and culinary satisfaction. This rustic style of bread, often associated with traditional bakeries, is now within reach for home bakers thanks to remarkably simple recipes that rely on fundamental ingredients: flour, yeast, salt, and water. This accessible approach demystifies the art of bread-making, offering a rewarding experience that fills the kitchen with an irresistible bakery-like aroma.
The appeal of homemade artisan bread extends beyond its sensory delights. It represents a connection to a time-honored craft, a departure from mass-produced alternatives, and a testament to the transformative power of basic elements. For many, the process of creating a loaf from scratch is as fulfilling as the final product. The satisfaction of pulling a perfectly baked, golden-brown creation from the oven, knowing it was crafted with care and patience, is unparalleled. This ease of preparation means that even those without extensive baking experience or specialized equipment can achieve impressive results. The focus is on a few core components and a little bit of time, yielding a loaf that rivals those found in gourmet shops.
Understanding Artisan Bread: More Than Just a Loaf
Artisan bread, at its core, is defined by its traditional production methods and its reliance on a short list of high-quality, natural ingredients. Unlike the highly processed, uniformly structured sandwich breads commonly found in supermarkets, artisan loaves are characterized by their distinctive textures and visually appealing imperfections. The "artisan" designation signifies a commitment to less industrialized processes, often involving longer fermentation times and higher baking temperatures.
The defining characteristics of artisan bread include:
- Chewy Texture: A satisfying chewiness is a hallmark of well-made artisan bread, achieved through the development of gluten during mixing and proofing.
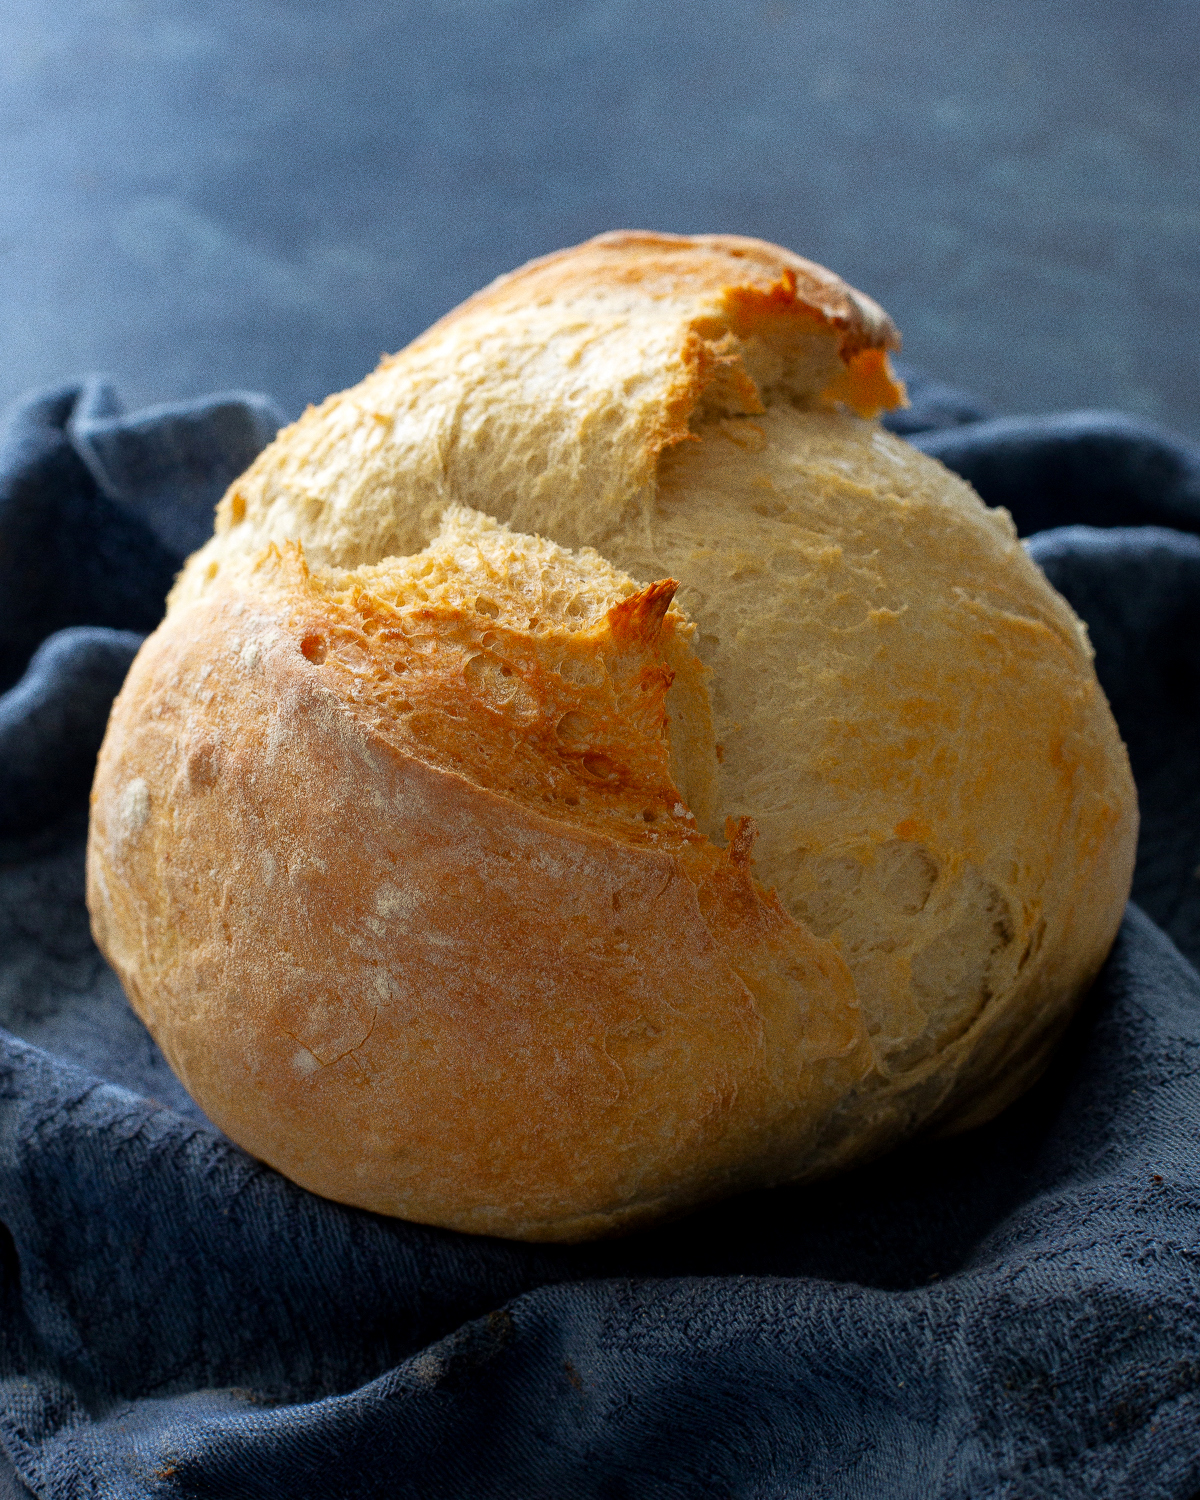
- Crisp Crust: The exterior of an artisan loaf is typically characterized by a robust, crackly crust, which provides a delightful contrast to the soft interior.
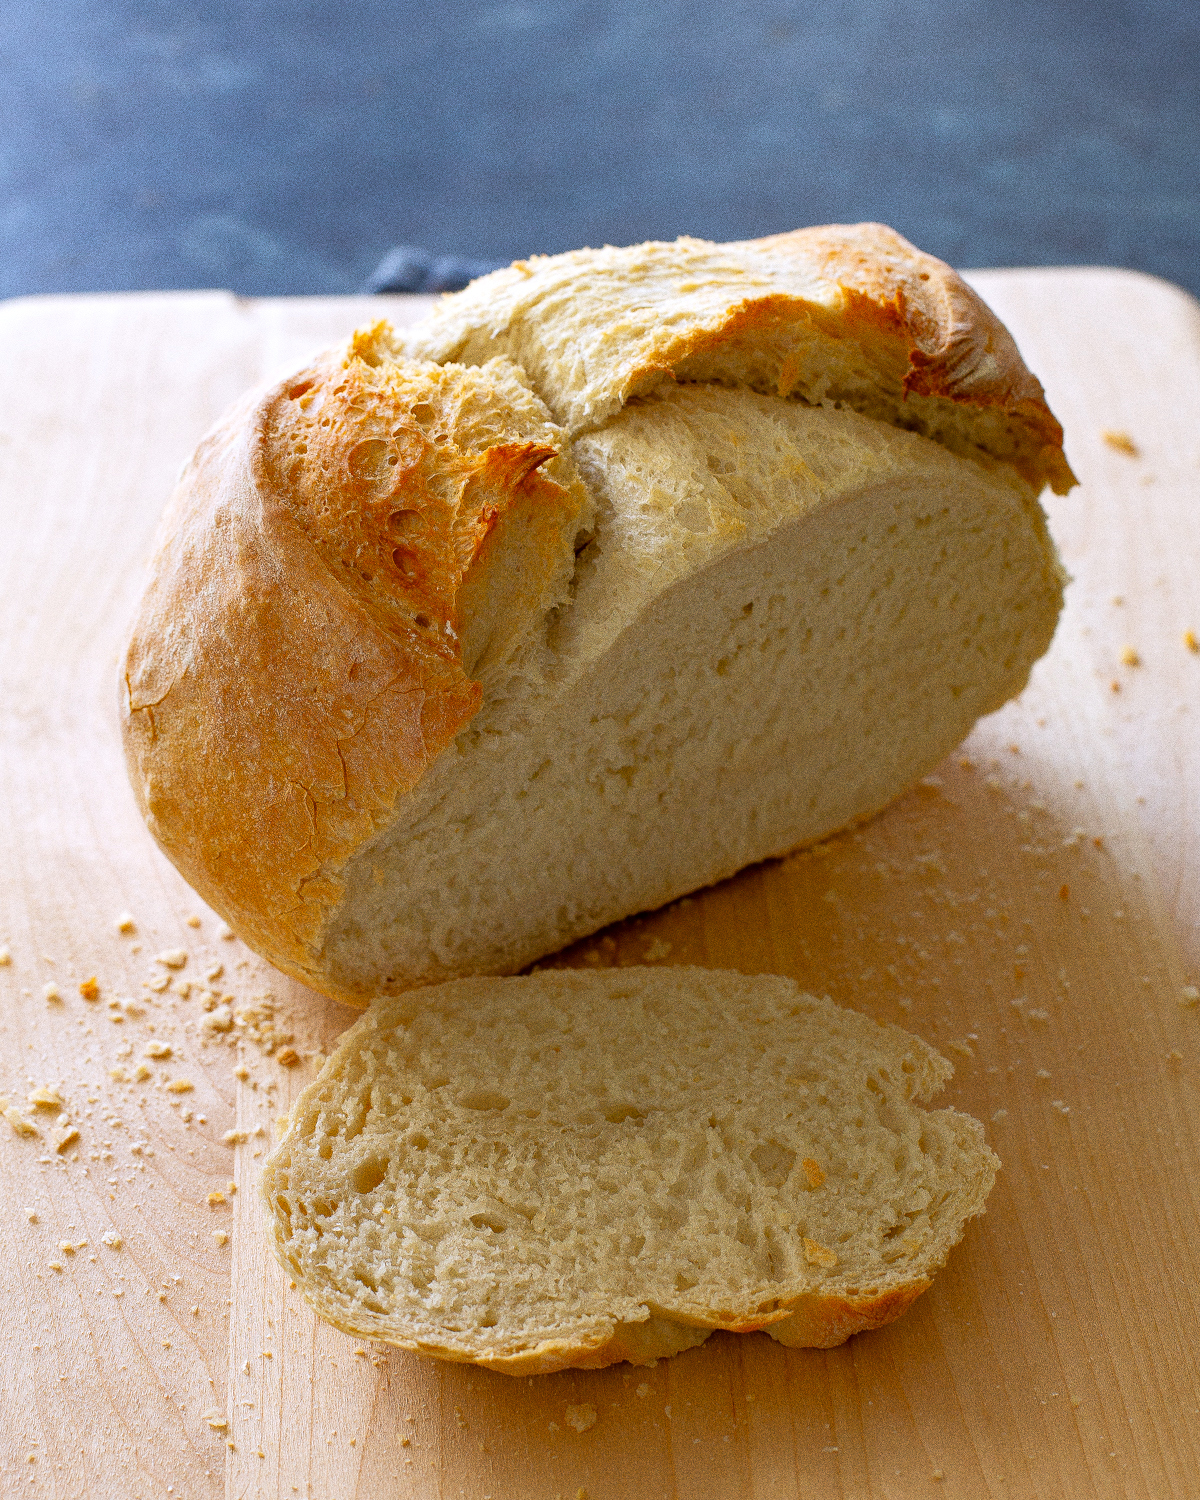
- Irregular Air Pockets: The crumb, or interior of the bread, often features a network of irregular air pockets, indicating proper fermentation and a well-developed dough structure.
- Natural Ingredients: The foundation of artisan bread is a simple combination of flour, water, yeast, and salt. While some recipes may incorporate natural leavening agents like sourdough starters, the basic principles remain consistent.
The baking process itself plays a crucial role in achieving the desired crust. High-heat baking, often conducted within a Dutch oven, is a popular technique. The Dutch oven traps steam released by the dough during the initial stages of baking. This steam is vital for preventing the crust from setting too quickly, allowing the loaf to expand fully and develop its characteristic crispness. The intense heat then caramelizes the starches on the surface, creating that desirable golden hue and satisfying crunch.

The Essential Ingredients for Homemade Artisan Bread
The beauty of this particular artisan bread recipe lies in its simplicity and accessibility. The ingredients are likely already present in most home kitchens, eliminating the need for special trips to the grocery store.
- Flour: All-purpose flour is a versatile option that works well for this recipe, producing a delightfully chewy loaf. For those seeking an even more pronounced chew and a slightly stronger gluten structure, bread flour is an excellent alternative. The subtle differences in protein content between all-purpose and bread flour can influence the final texture, but both will yield delicious results.
- Yeast: Active dry yeast or instant yeast can be used to leaven the dough. Yeast is the crucial ingredient responsible for the fermentation process, which creates the gas that makes the bread rise and contributes to its flavor development.
- Salt: Beyond its flavor-enhancing properties, salt plays a vital role in controlling yeast activity and strengthening the gluten network in the dough.
- Water: Lukewarm water is essential for activating the yeast and hydrating the flour. The temperature of the water can influence the speed of fermentation; warmer water will accelerate the process, while cooler water will slow it down.
A Step-by-Step Guide to Crafting Your Own Artisan Loaf
The process of making artisan bread is often broken down into distinct stages, each contributing to the final outcome. This recipe streamlines the process, making it manageable for even novice bakers.
Step 1: Mixing the Dough
The journey begins by combining the dry ingredients – flour, salt, and yeast – in a large mixing bowl. Once thoroughly combined, warm water is gradually added. The mixture is then stirred until a shaggy, cohesive dough begins to form. At this stage, the dough is expected to appear somewhat sticky and messy. This is an intentional characteristic, indicating that the ingredients are well-integrated and ready for the next phase. The bowl is then covered, typically with plastic wrap or a clean kitchen towel, to create a warm, humid environment conducive to yeast activity.

Step 2: The Crucial Rise (Fermentation)
This is where patience becomes a baker’s virtue. The covered dough is left to rise at room temperature for approximately 2 to 3 hours. During this time, the yeast consumes sugars in the flour and produces carbon dioxide gas, causing the dough to expand significantly. For those seeking a more complex flavor profile, the dough can be allowed to rise for an extended period, up to 3 days, in the refrigerator. This slow, cold fermentation develops deeper, more nuanced flavors within the bread.
Step 3: Shaping the Loaf
Once the dough has sufficiently risen, it’s time to gently shape it. A lightly floured clean surface is ideal for this step. The dough is turned out and its edges are carefully folded towards the center a few times. The goal is to create a taut surface and a rounded loaf without overworking the dough, which can lead to a dense texture. The shaped dough is then placed on parchment paper, preparing it for its fiery transformation.
Step 4: Preheating the Dutch Oven
A critical element in achieving that signature artisan crust is the use of a preheated Dutch oven. The lidded pot is placed inside the oven and preheated to a high temperature, typically 450°F (232°C). This intense heat, combined with the trapped steam, is what gives the bread its characteristic crispy exterior. The preheating process ensures that the oven is at the optimal temperature when the dough is introduced.
Step 5: The Baking Process
With the oven and Dutch oven at the ideal temperature, the shaped dough, still on its parchment paper, is carefully transferred into the hot Dutch oven. The lid is secured, and the bread bakes, covered, for approximately 30 minutes. This initial covered period allows the dough to continue rising and steaming, promoting even expansion and preventing the crust from hardening too quickly. After 30 minutes, the lid is removed, and the bread continues to bake for another 10 to 15 minutes, or until it achieves a deep golden-brown color. The aroma emanating from the oven at this stage is a testament to the success of the baking process.
Step 6: Cooling for Perfection
Once baked to perfection, the bread is removed from the Dutch oven and placed on a wire rack to cool completely. This cooling period is essential. While it may be tempting to slice into the warm loaf immediately, allowing it to cool properly allows the internal structure to set and prevents a gummy texture.
Storage and Troubleshooting: Ensuring Lasting Freshness and Quality
Proper storage is key to maintaining the freshness and enjoyable texture of homemade artisan bread. At room temperature, loosely wrapped in a paper bag or bread box, the loaf can remain delicious for up to 3 days. For longer preservation, slicing the bread and freezing it in an airtight bag is an excellent option. Reheating frozen slices in the oven can revive their fresh-baked crispness.
Even with careful preparation, occasional challenges can arise in bread making. One common concern is a dense loaf. This often stems from a few key factors:
- Insufficient Rise: If the dough has not had adequate time to ferment and rise, it will lack the airy structure characteristic of good artisan bread.
- Overworking the Dough: Excessive kneading or manipulation of the dough after its initial rise can develop too much gluten, leading to a tough and dense texture.
- Improper Proofing Environment: The yeast requires a warm, humid environment to thrive. If the dough is proofed in a cold or dry environment, its activity will be inhibited.
- Oven Temperature Issues: An oven that is not hot enough, or one that loses too much heat when the door is opened, can prevent the bread from achieving its optimal rise and crust development.
Variations and Adaptations: Baking Beyond the Basic
While the core recipe is straightforward, there are opportunities for personalization and adaptation. As mentioned, the choice between all-purpose and bread flour offers a slight variation in texture. For those without a Dutch oven, baking on a preheated baking sheet is a viable alternative, though the crust may be slightly less pronounced due to the reduced steam environment.
The fundamental principles of artisan bread making, rooted in simple ingredients and patient fermentation, offer a gateway to a deeply rewarding culinary experience. The ability to transform flour, water, yeast, and salt into a crusty, flavorful loaf is a testament to the timeless magic of baking.
