There is an undeniable allure to a freshly baked loaf of artisan bread. The symphony of a crackling golden crust giving way to a soft, chewy interior, all enveloped in an aroma that transforms a kitchen into a haven of comfort, speaks to a primal satisfaction. For many, particularly on a relaxed Sunday evening, the craving for warm, crusty bread to accompany a meal can be intense, but the perceived complexity of baking such a loaf often deters them. However, the reality of crafting a beautiful artisan bread is far more accessible than commonly believed. This guide delves into the simplicity of creating a no-fuss artisan bread, a recipe that relies on fundamental ingredients and minimal effort, promising bakery-quality results in any home kitchen.
Understanding the Essence of Artisan Bread
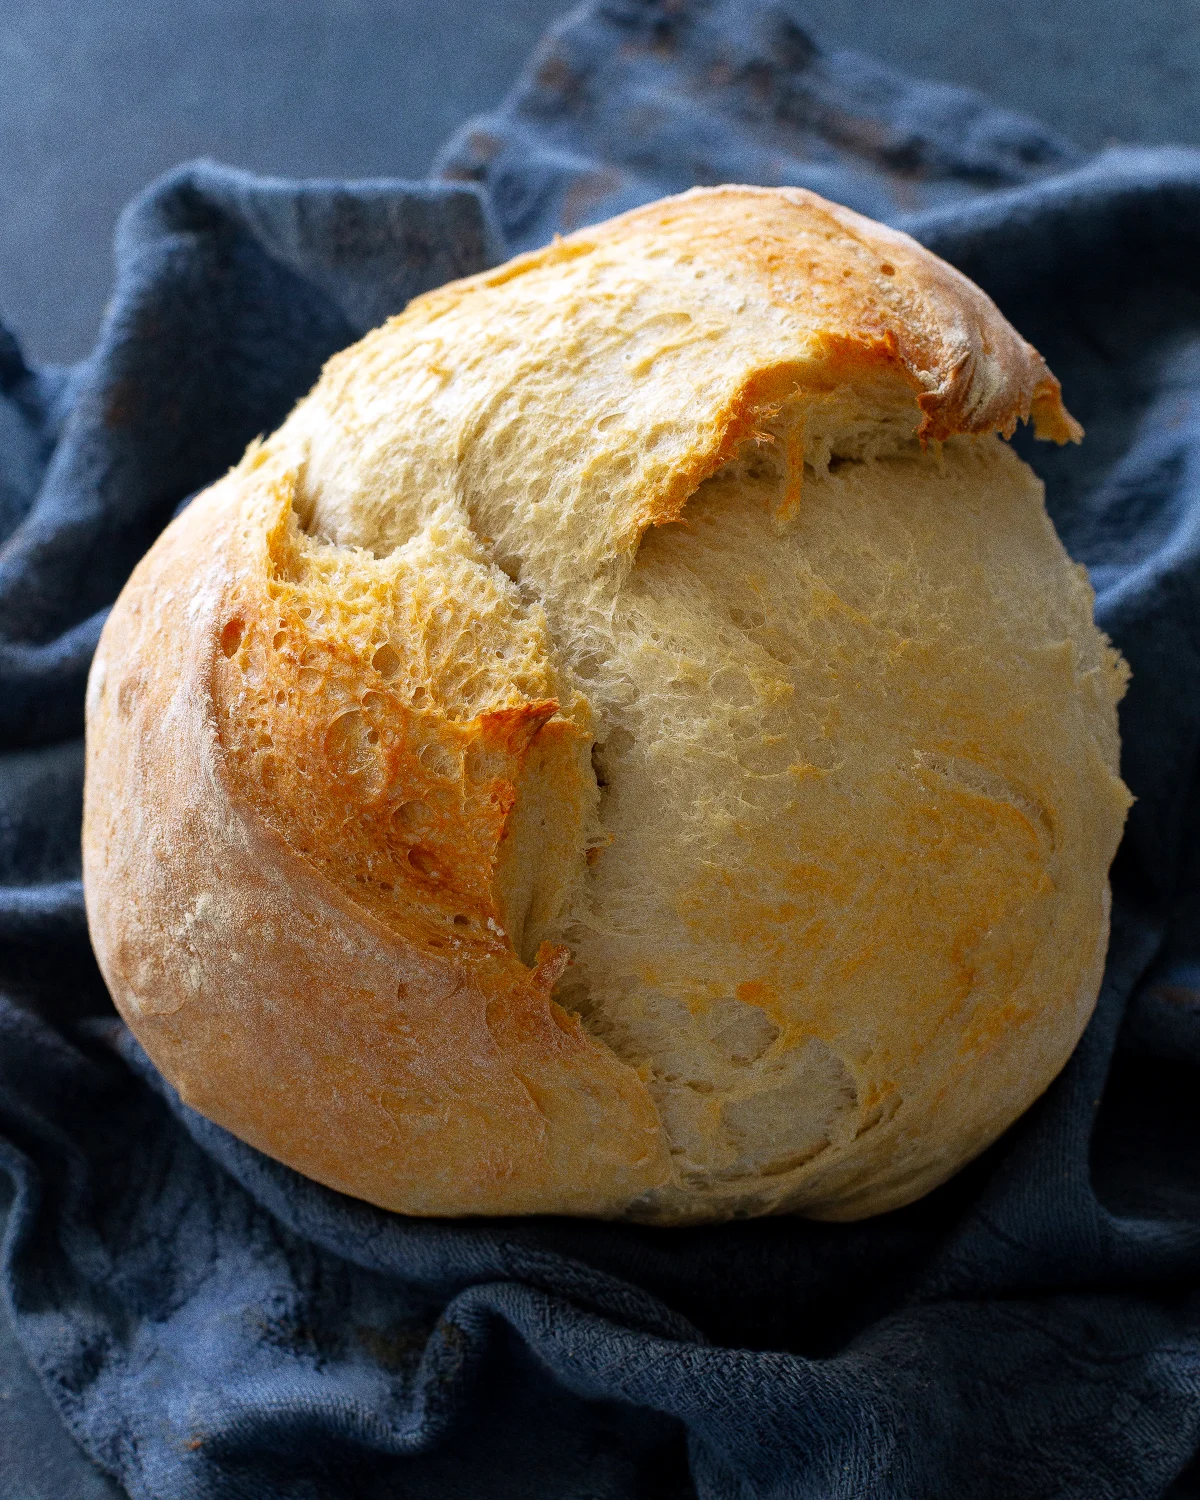
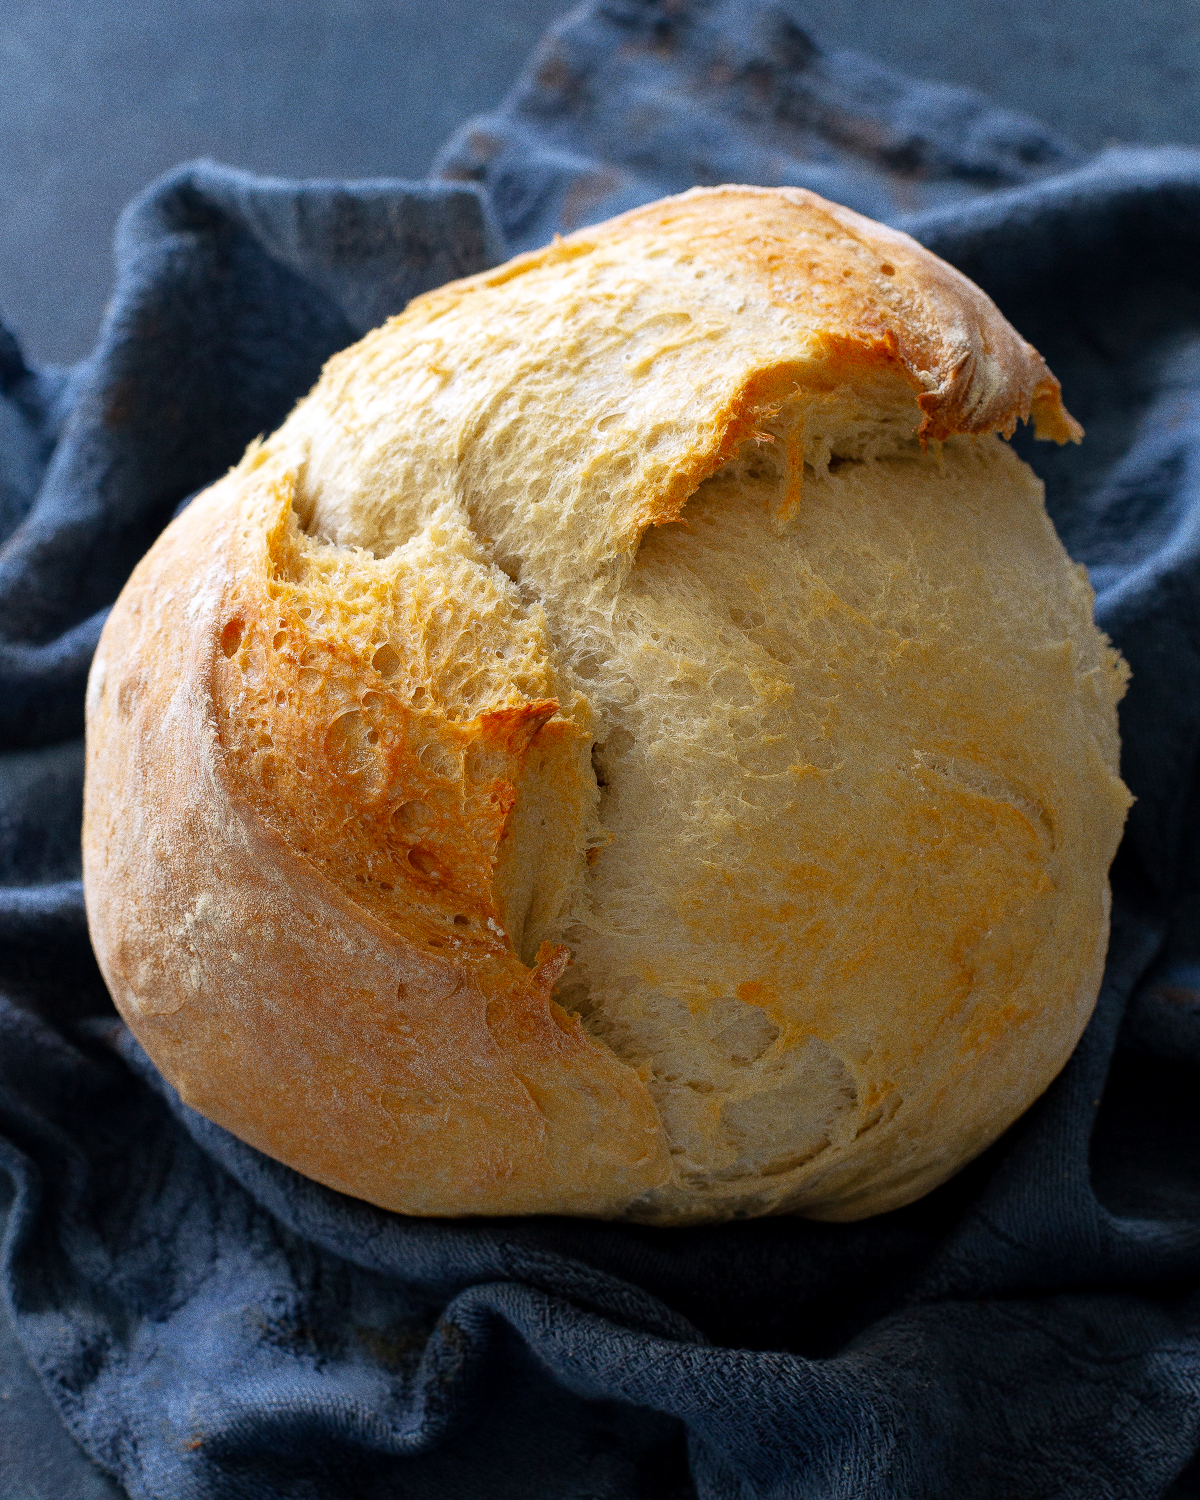
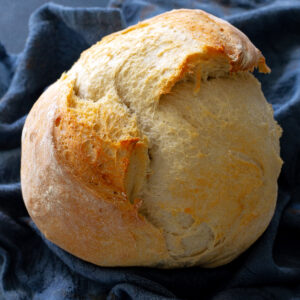
Artisan bread, at its core, is a testament to traditional baking methods and the purity of simple ingredients. Unlike mass-produced bread found on supermarket shelves, artisan loaves are characterized by their rustic appearance, a delightfully chewy texture, a crisp, often deeply caramelized crust, and the captivating irregular pockets of air within the crumb. These characteristics are not the result of complex processes or specialized machinery, but rather the outcome of a thoughtful approach to flour, water, yeast, and salt, combined with the magic of high-heat baking.
Historically, bread making was an integral part of daily life, with communities often relying on communal ovens. The term "artisan" evokes a sense of craftsmanship and dedication to quality, distinguishing these loaves from those produced on an industrial scale. The resurgence of interest in artisanal food products over the past few decades has brought these traditional methods back into the spotlight, empowering home bakers to recreate these culinary treasures. The techniques employed in artisan bread making, such as long fermentation and high-temperature baking, are crucial for developing the complex flavors and desirable textures that define these loaves.
The Simple Symphony of Ingredients
The beauty of this particular artisan bread recipe lies in its minimalist ingredient list, ensuring that the fundamental elements of good bread are allowed to shine.
- Flour: While bread flour is often recommended for its higher gluten content, which contributes to a chewier texture and better structure, the recipe is forgiving. All-purpose flour, a staple in most pantries, can be successfully substituted. The difference lies in a slightly less pronounced chew and a subtly less robust structure, but the overall quality of the loaf remains high. The choice of flour can significantly impact the final outcome. Bread flour, with its protein content typically ranging from 12-14%, develops more gluten when mixed with water, resulting in a stronger dough that can trap more gas, leading to a lighter, chewier crumb. All-purpose flour, with a protein content usually between 10-12%, will still produce a delicious loaf, but it might be a touch softer and less chewy.
- Yeast: The leavening agent that breathes life into the dough, transforming it from a simple mixture into a risen loaf.
- Salt: More than just a flavor enhancer, salt plays a crucial role in controlling yeast activity and strengthening the gluten network, contributing to the bread’s texture and shelf life.
- Water: The catalyst that hydrates the flour, activates the yeast, and binds the ingredients together. The temperature of the water is a critical factor; warm water (around 105-115°F or 40-46°C) is ideal for activating the yeast without killing it.
The Art of Transformation: A Step-by-Step Guide
Crafting this artisan bread is a journey of patience and gentle guidance, rather than vigorous effort. The process unfolds in distinct, manageable stages.
Step 1: The Genesis of the Dough
The initial stage involves bringing together the core ingredients. In a generously sized mixing bowl, combine the flour, salt, and yeast. This dry mixture provides a uniform base. Next, gradually pour in the warm water. Stir the ingredients together until a shaggy, cohesive dough begins to form. At this point, the dough is expected to appear somewhat sticky and messy – this is precisely the desired consistency. It signifies that the flour is adequately hydrated, a crucial step for gluten development.

The act of combining the ingredients initiates the development of gluten, the protein network that gives bread its structure. Even without kneading, the hydration of the flour proteins (glutenin and gliadin) allows them to link together, forming elastic strands. The shaggy appearance indicates that the gluten network is just beginning to form.
Cover the bowl securely with plastic wrap or a clean kitchen towel. This barrier prevents the dough from drying out and allows the yeast to begin its work in a controlled environment.
Step 2: The Patient Rise
This is where the magic of fermentation truly begins. Allow the covered dough to rest at room temperature for approximately 2 to 3 hours. During this period, the yeast will consume sugars in the flour and produce carbon dioxide gas, causing the dough to expand and become airy. This slow, room-temperature rise is key to developing flavor.
For those seeking an even more complex flavor profile, an extended fermentation period is an option. The dough can be refrigerated for up to 3 days. This slow, cold fermentation process further develops the yeast and bacteria, leading to a richer, more nuanced taste and a more complex crumb structure. This technique is often employed by professional bakers to enhance the depth of flavor in their loaves.
Step 3: Gentle Shaping
Once the dough has risen significantly, it’s time for shaping. Lightly flour a clean work surface to prevent sticking. Gently turn the dough out onto the floured surface. The goal here is to be delicate; overworking the dough at this stage can deflate the air pockets that have formed.

To shape the dough into a round loaf, gently fold the edges towards the center a few times. Imagine creating a taut surface by tucking the dough under itself. Avoid excessive kneading or manipulation. The aim is to create a smooth, slightly tensioned surface on top while preserving the internal airiness.
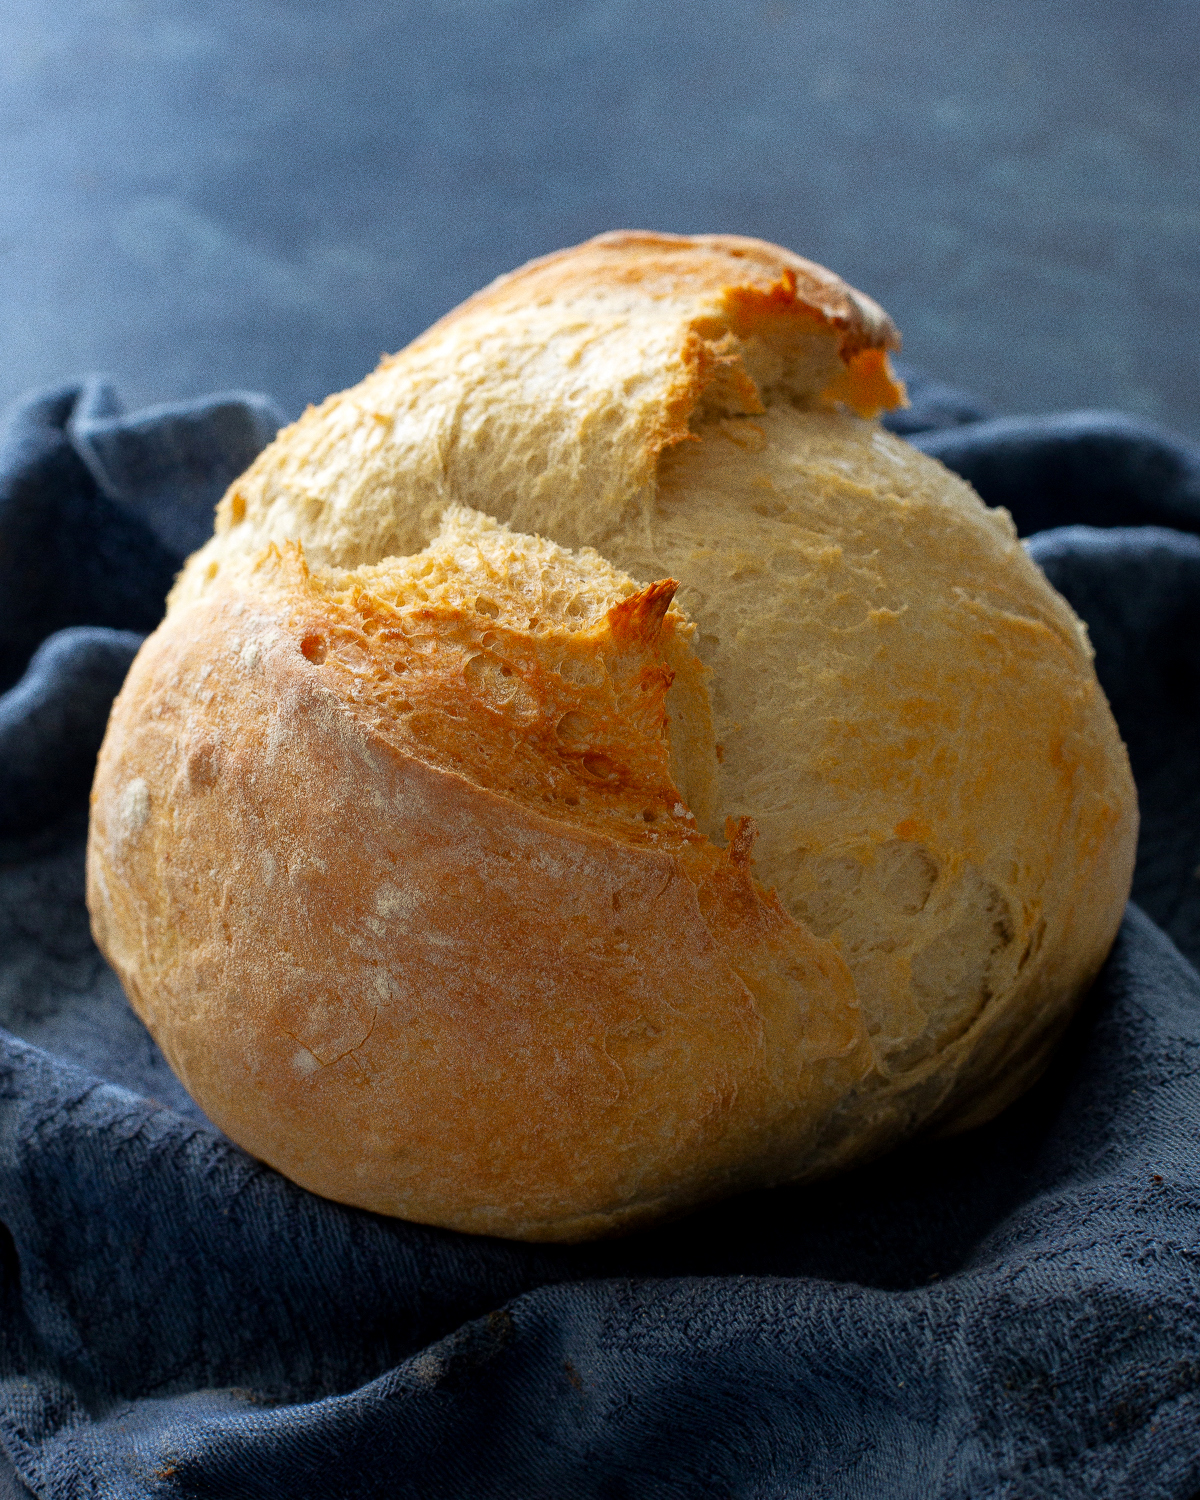
Place the shaped dough onto a piece of parchment paper. This parchment paper will serve as a sling, allowing for easy transfer of the dough into the hot baking vessel. Before it’s ready for the oven, make a single, decisive slit across the top of the loaf with a sharp knife or a baker’s lame. This score allows the bread to expand in a controlled manner during baking, preventing it from bursting unpredictably.
Step 4: The Crucial Preheat
The secret to achieving that signature crisp crust lies in high-heat baking and the creation of steam. Place a Dutch oven, complete with its lid, into your oven and preheat it to a robust 450°F (232°C). Allowing the Dutch oven to heat thoroughly is essential. This preheating ensures that when the dough is introduced, it immediately begins to cook, and the trapped moisture within the pot creates a steamy environment.
The Dutch oven acts as a mini-oven, trapping the steam released from the dough. This steam keeps the surface of the bread moist for the initial phase of baking, allowing it to expand fully before the crust begins to set. Without this steam, the crust would form too quickly, inhibiting the loaf’s rise and resulting in a less desirable texture. While a Dutch oven is highly recommended for optimal results, a preheated baking sheet can be used as an alternative, though the crust may not be as uniformly crisp.
Step 5: The Bake
With extreme caution, carefully remove the preheated Dutch oven from the oven. Using the parchment paper as a handle, gently lower the shaped dough into the hot Dutch oven. Place the lid back on the pot.
Bake the bread, covered, for approximately 30 minutes. This initial covered period is crucial for steaming and allowing the loaf to achieve its maximum volume. After 30 minutes, carefully remove the lid. Continue to bake for another 10 to 15 minutes, or until the crust is a deep, golden brown and sounds hollow when tapped on the bottom. This uncovered phase allows the crust to crisp up and develop its characteristic color and texture.
The total baking time will vary slightly depending on your oven and the size of your loaf. The visual cues of a deep golden-brown crust and a firm base are reliable indicators of doneness.
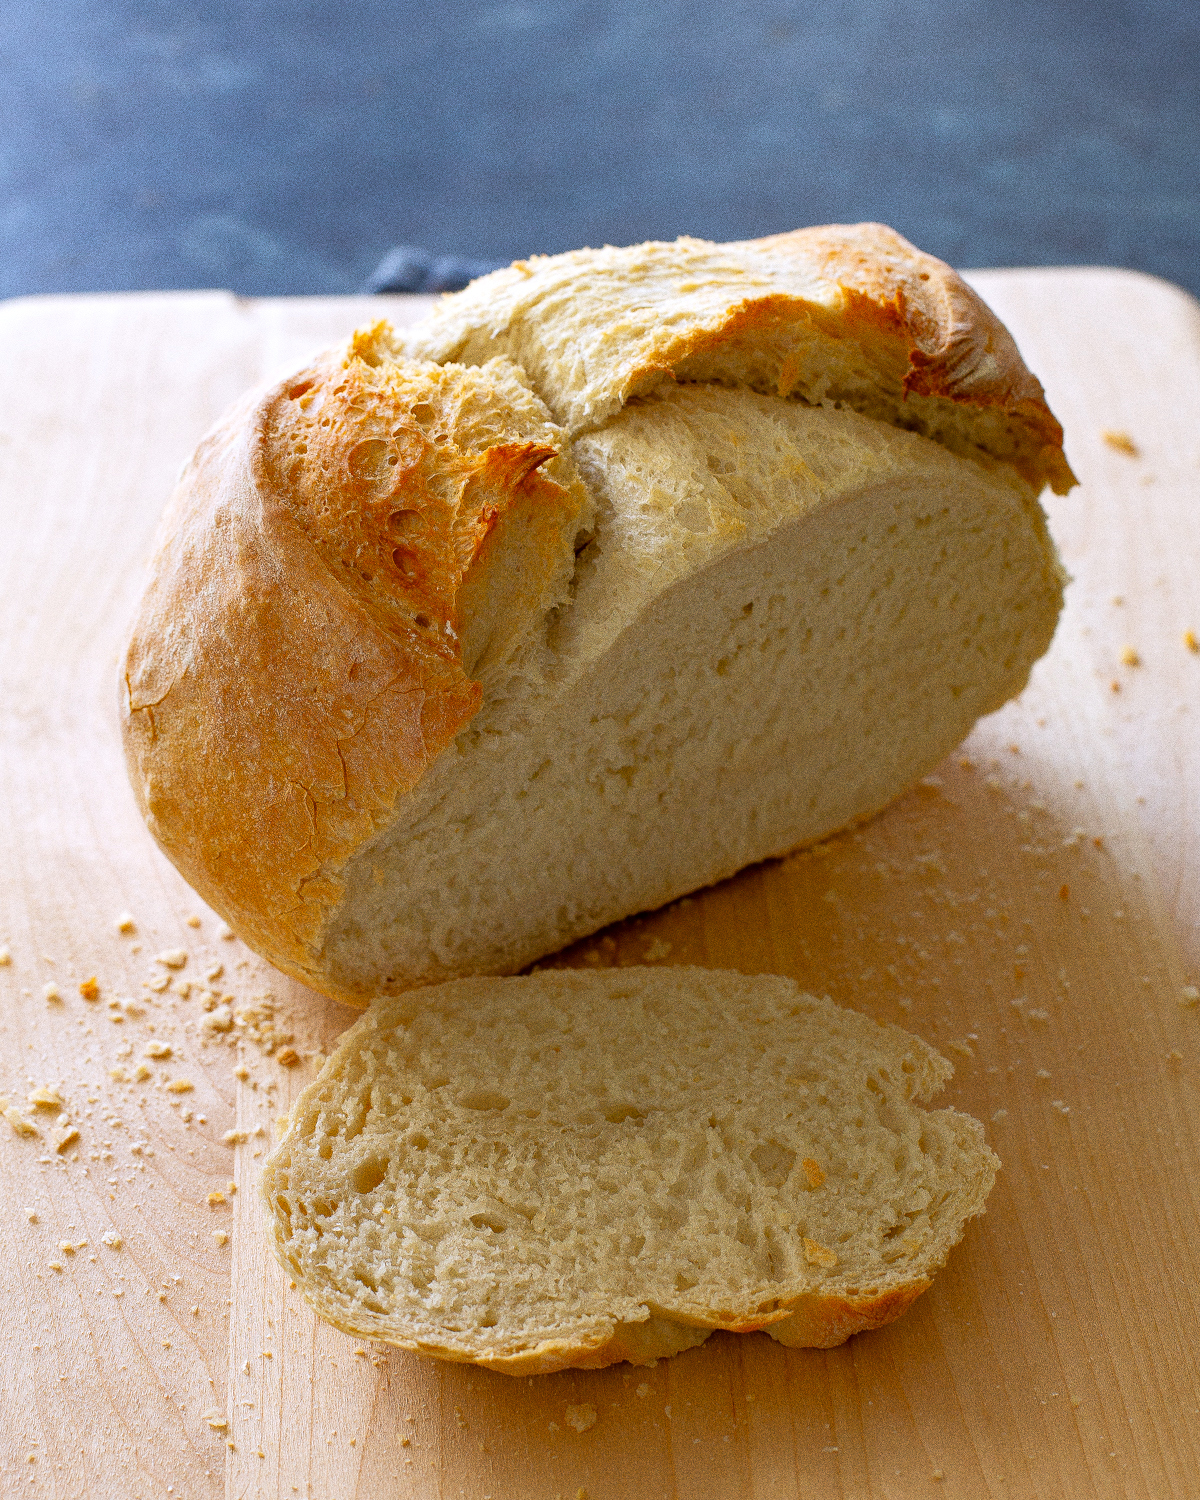
Cooling: The Final, Patient Step
Once baked to perfection, carefully remove the bread from the Dutch oven and place it on a wire rack. It is imperative to let the bread cool completely before slicing. This cooling period allows the internal structure of the bread to set properly. Slicing a hot loaf can result in a gummy texture, as the starches are still gelatinizing. The steam trapped inside continues to cook the interior, and the crust continues to firm up as it cools.
Storing Your Masterpiece
To preserve the freshness of your homemade artisan bread, store it loosely wrapped at room temperature for up to 3 days. Avoid tightly sealing it in plastic, as this can make the crust soggy. For longer storage, slice the cooled loaf and place it in an airtight freezer bag. When you’re ready to enjoy it, reheat the slices in a moderate oven (around 350°F or 175°C) for a few minutes to revive that freshly baked texture and aroma.
Troubleshooting Common Baking Challenges
While this recipe is designed for simplicity, occasional issues can arise.
Can I Use All-Purpose Flour Instead of Bread Flour?
As mentioned earlier, yes, all-purpose flour can be used. Bread flour, with its higher protein content, contributes to a chewier texture and a more structured crumb. However, all-purpose flour will still yield a delicious loaf, though it may be slightly softer. The key is to ensure proper hydration and fermentation, regardless of the flour type.
Why Is My Artisan Bread Dense?
A dense artisan bread is often a result of one or more common pitfalls:
- Insufficient Yeast Activity: Ensure your yeast is fresh and properly activated. If your yeast is old or has been exposed to extreme temperatures, it may not be able to produce enough gas to leaven the dough effectively.
- Under-proofing: If the dough is not allowed to rise for a sufficient period, the yeast will not have had enough time to produce adequate carbon dioxide. This results in a loaf with a tight, dense crumb.
- Overworking the Dough: While this recipe minimizes kneading, aggressively handling the dough during shaping can knock out the trapped air pockets, leading to a dense loaf.
- Oven Temperature Issues: Baking at too low a temperature, or not preheating the oven and Dutch oven sufficiently, can prevent the bread from rising properly and developing a light crumb.
The Broader Implications of Home Baking
The resurgence of interest in artisan bread making is more than just a culinary trend; it reflects a broader societal shift towards mindful consumption and a desire for connection to the food we eat. In an era of convenience, the act of baking from scratch offers a tangible reward, a sense of accomplishment, and a healthier alternative to mass-produced goods. It fosters a deeper appreciation for the ingredients and the processes involved in food production. Furthermore, the ability to create such a sophisticated product with simple ingredients empowers individuals and families, promoting self-sufficiency and a more sustainable approach to food. The shared experience of breaking bread, whether baked at home or purchased from a local artisan, remains a fundamental aspect of human connection and cultural tradition.
